Leather Style
How to Make a Leather Belt Pouch: A Maker’s Guide
Plan and build a simple leather belt pouch with a paper pattern, a comfortable belt fit and clean hand-finished details.
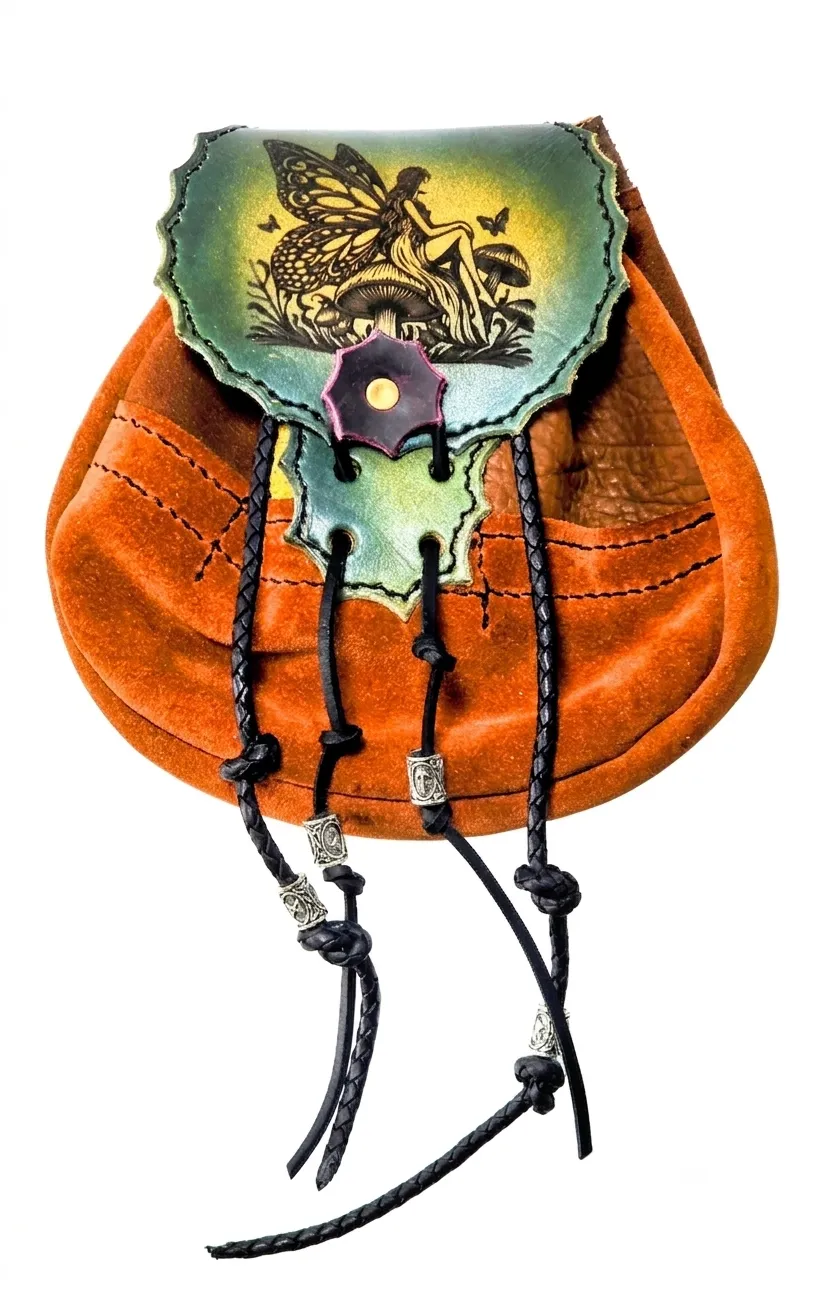
A leather belt pouch is a fine first serious project because it has a real job. It has to sit comfortably, open when you need it, carry a few essentials without sagging, and keep its shape after a long day. That makes it a better teacher than a decorative scrap project. You learn where a pattern needs room, what a belt loop has to withstand, and why a small clean detail matters every time your hand reaches for the flap.
I’m Eric, and I build pouches with the way people move in mind. This guide shows a sensible route to a simple hand-stitched belt pouch with a back panel, front panel, flap and belt loop. It is not a substitute for safe tool practice, and it does not promise a one-size pattern. The useful part is learning how to make the pattern around your own carry and belt before you cut good leather.
Start with the carry, not the leather
Empty your pockets onto a table and decide what this pouch will actually hold. A phone, card holder, keys and a small notebook make a very different pouch from one intended for dice, tools or a compact camera. Lay those items together in their normal arrangement, then measure their width, height and depth. Add a little room for your fingers to reach in, but do not make the pouch huge just because extra space feels safe on paper.
A good belt pouch is an immediate-access kit, not a miniature backpack. The everyday carry packing guide is useful for deciding what earns a place. Keep water, layers and bulky extras in a larger bag. A focused load keeps the pouch close to your body, makes the closure easier to use and gives the belt loop less weight to fight.
Choose leather that fits the project
For a structured beginner pouch, vegetable-tanned leather in the medium range is a practical choice. It cuts cleanly, takes a crease well and can be burnished at the edges. A softer chrome-tanned leather can make a handsome pouch, but it may stretch more around the opening and needs more thought if you want the pouch to hold a crisp shape. Choose material you can fold without forcing, rather than the heaviest hide you can find.
Look at the leather with the project in mind. The flap needs to bend repeatedly. The back panel and belt loop take the most pull. Natural grain, small scars and color variation are part of leather, not something to hide. If you want a little more background on why vegetable-tanned leather starts firm and changes with use, our vegetable-tanned leather guide explains the material in plain terms.
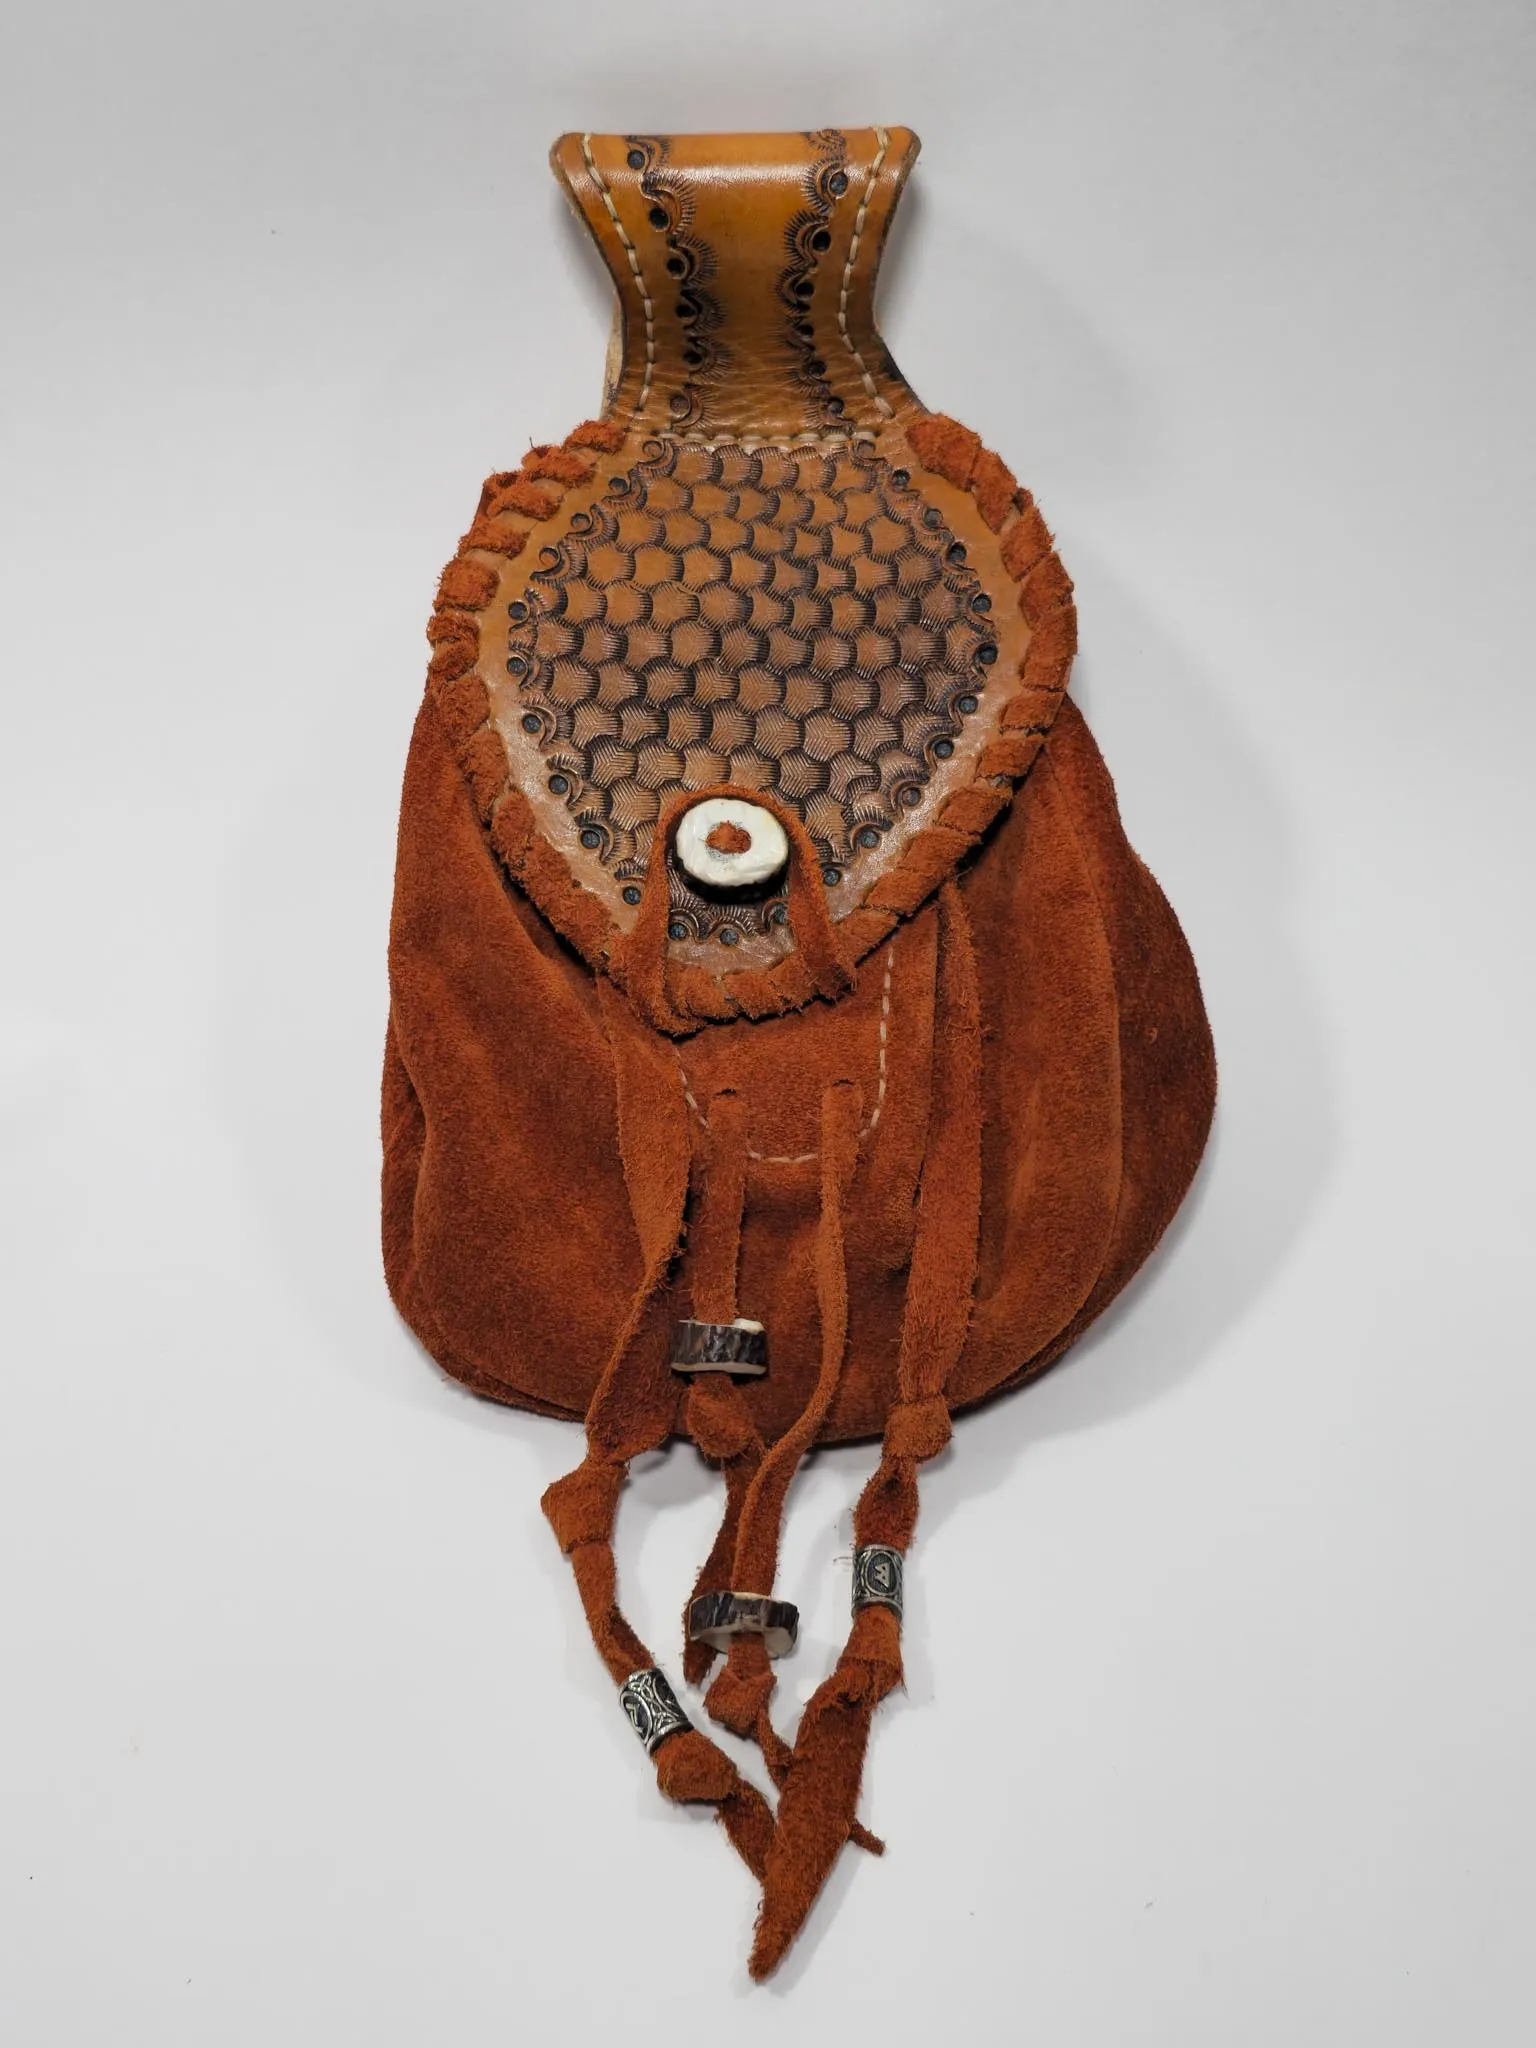
Gather a compact tool kit and work safely
You do not need a fully outfitted shop to make a useful pouch. Start with a sharp knife, metal ruler, cutting mat, scratch awl, maul or mallet, stitching chisels or an awl, waxed thread, two needles, edge beveler and a slicker or piece of canvas. Add a hole punch and your chosen closure hardware if the design needs them. A well-marked, sharp basic tool is more useful than a drawer full of gadgets you have not learned to control.
Cut on a stable surface and keep the hand holding the ruler behind the blade path. Make several light passes rather than trying to force one deep cut. Test dye, finish and glue on an offcut first. That deliberate pace is not fussy. A straight cut and a clean stitch line make a modest pouch look purposeful, while a rushed cut is difficult to disguise later.
Make a paper pattern you can test
Use cardstock to make the back panel first. It runs from the bottom of the pouch, up the back, and continues into the flap. Add a separate front panel and a narrow gusset or side strip if you want depth. The back panel is also where you plan the belt loop, so make it long enough above the pocket for the loop to anchor without crowding the flap. Weaver Leather Supply’s belt-pouch pattern lesson is a helpful visual reference for this planning stage.
Tape the paper pieces together and load the pouch with the actual things you plan to carry. Open the flap, sit down, bend and thread your normal belt through the mock loop. If the paper pouch feels too tall, too deep or awkward at your hip, this is the cheap moment to change it. Mark the centerline and stitch lines clearly. A pattern that works in your hand is better than a generic measurement copied from a screen.
Build the belt loop around a real belt
Measure the belt you truly wear, including its thickness. The loop needs enough clearance for the belt to slide through without a wrestling match, but not so much that the pouch flops and shifts. Cut a strip with enough length to make the loop and leave solid attachment tabs at both ends. Hold it against the paper back panel before cutting leather, then test it again with the belt threaded through.
Attach the loop with a stitch line, strong rivets, or both, depending on the design and the load. Keep the attachment points away from the fold where the loop bends over the belt. That space takes repeated stress. If a pouch will carry a phone, keys and wallet day after day, the loop is not a decorative afterthought. It is the part that earns the whole piece the right to ride on your belt.
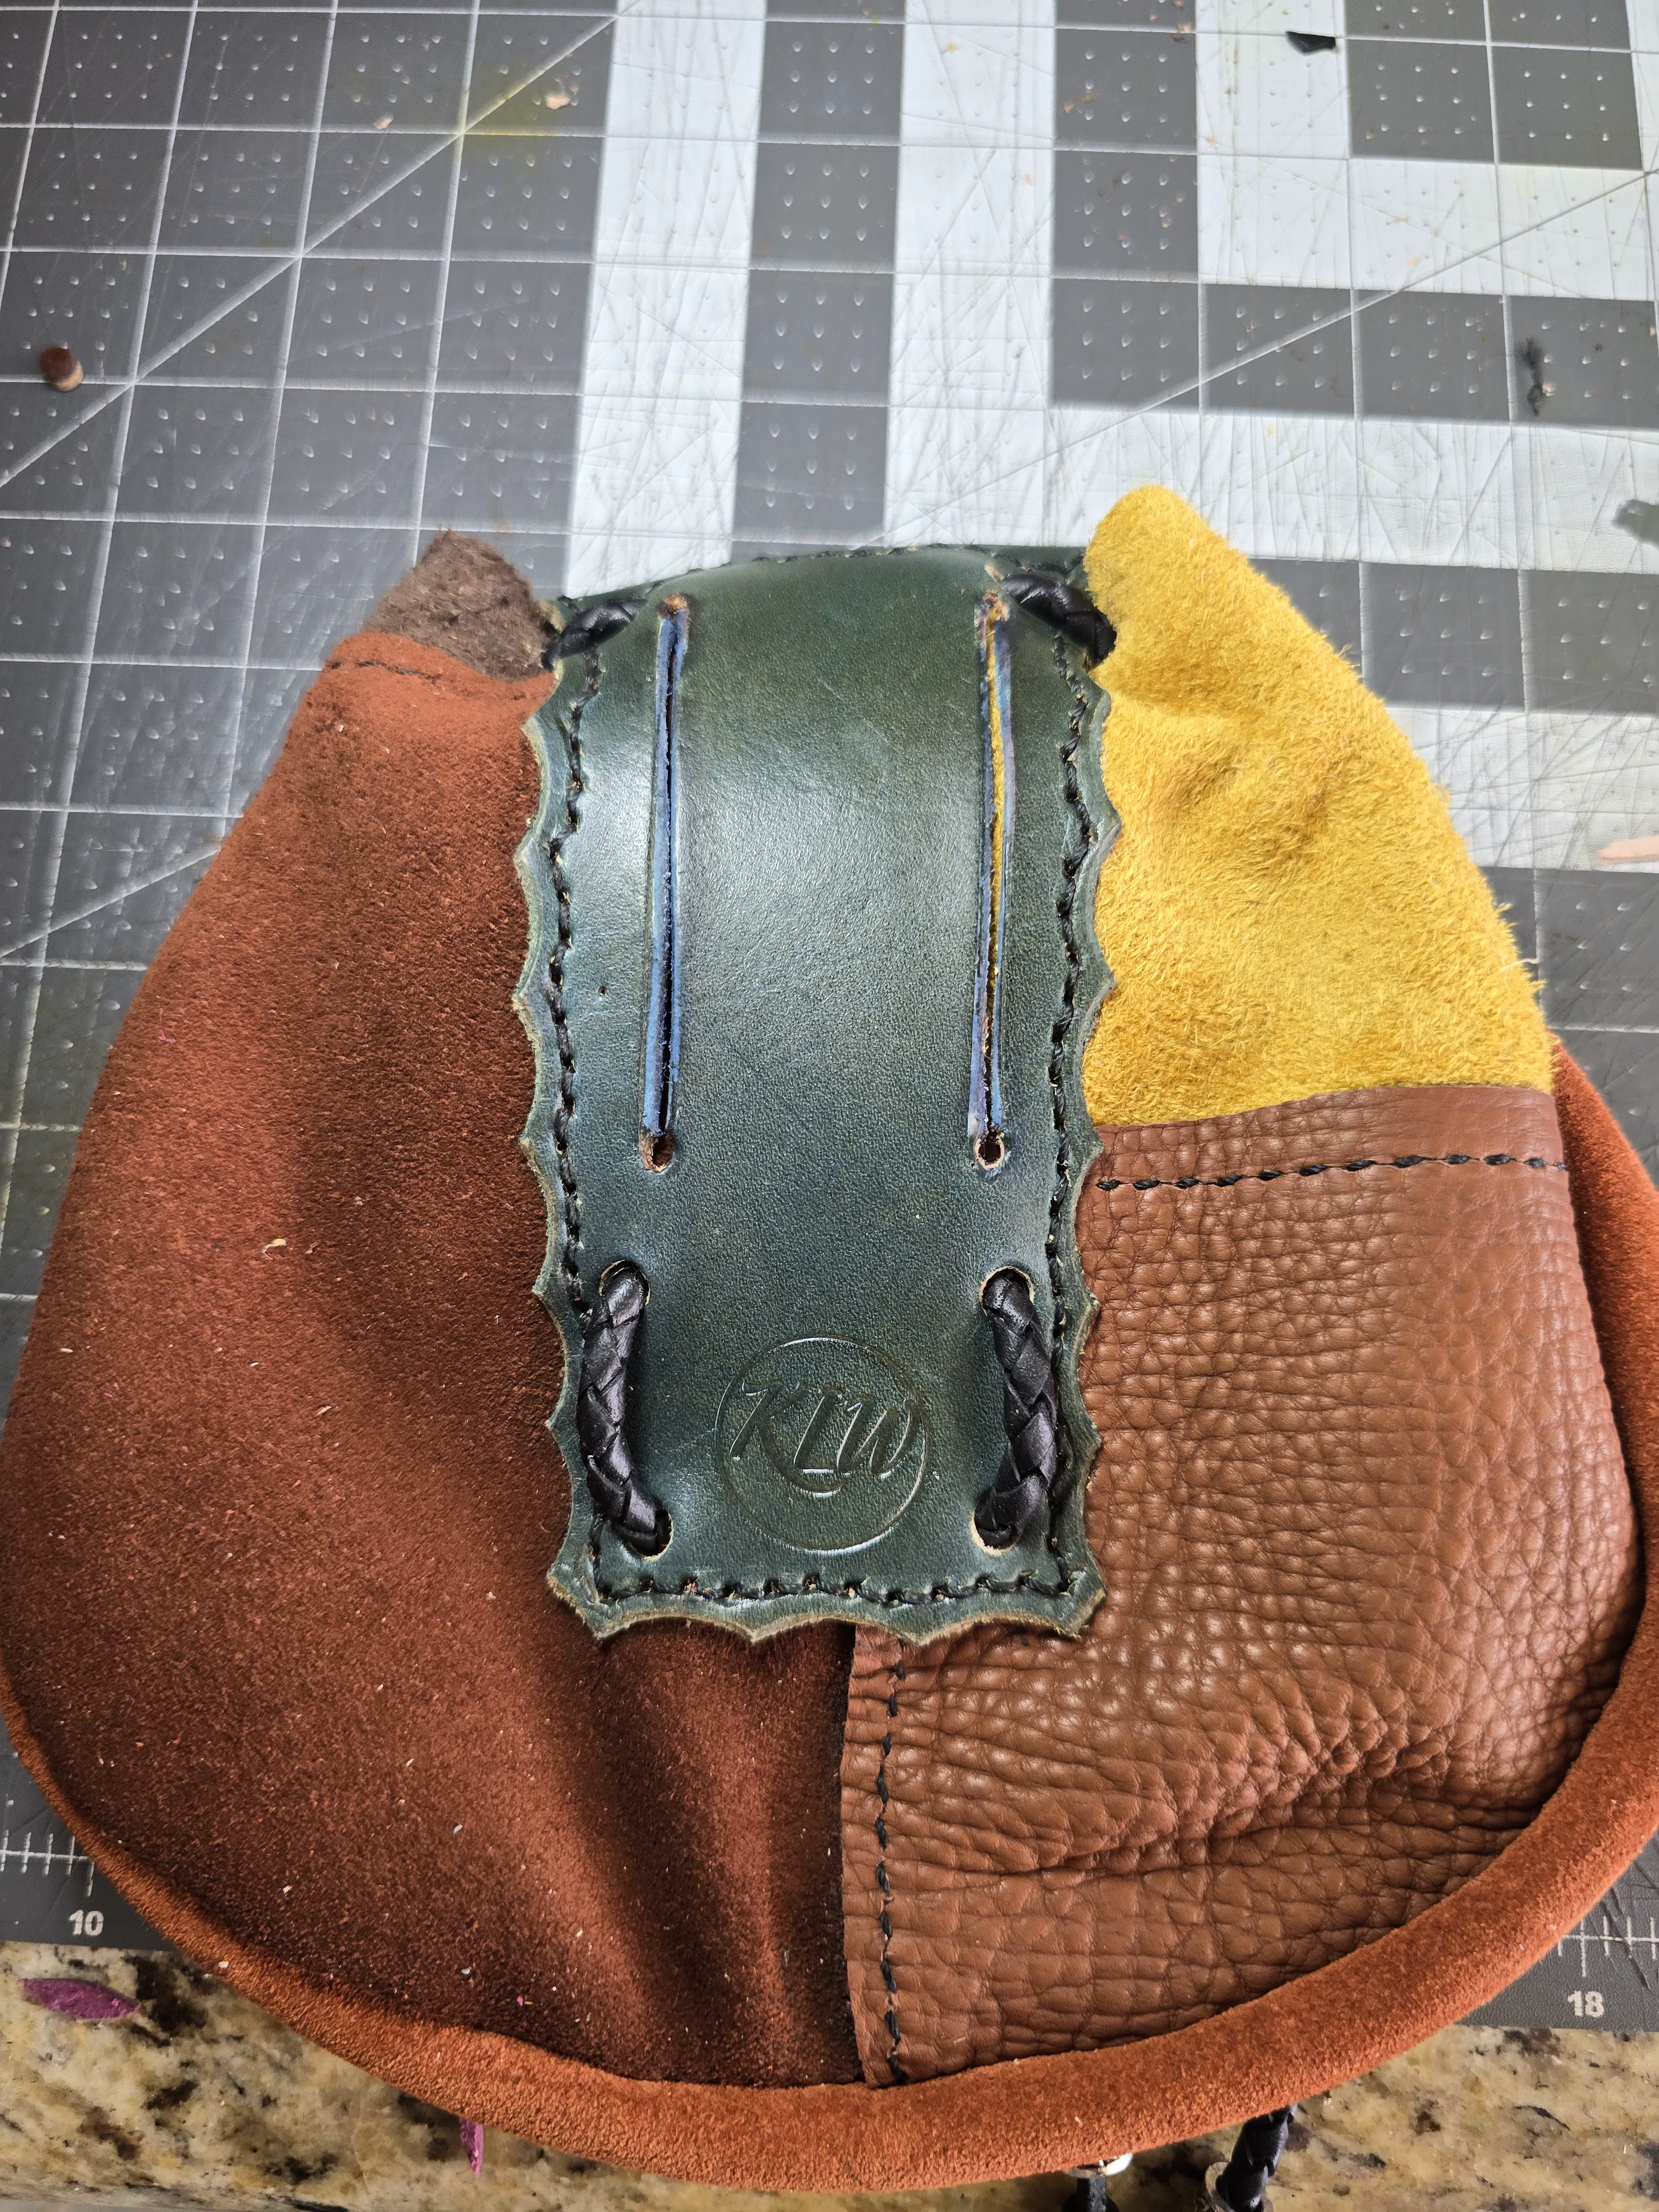
Transfer, cut and prepare the leather
Place the pattern on the flesh side of the leather and arrange the pieces so the grain and any natural marks work with the design. Trace lightly, then cut slowly against a metal ruler. Label the back, front, flap and gusset before moving anything off the bench. A quick check now prevents the irritating mistake of beveling or dyeing the wrong side of a piece.
Before assembly, round only the corners that need it, bevel the exposed edges and mark the stitch line consistently. A practical rule for a hand-stitched pouch is to keep the line far enough from the edge that it will not tear under normal use. Use your offcuts to set the chisel spacing and test the thread. The front of a pouch rewards restraint: straight lines, balanced curves and edges that feel good under the thumb.
Assemble in a calm order
Dry-fit every piece before glue or thread enters the conversation. Attach the belt loop to the back panel first, while you can still lay the panel flat. Then glue the gusset or side strip in position, check that the front panel lands evenly, and stitch one side at a time. Contact cement is useful for holding a seam while you stitch, but it is not a substitute for an accurate pattern. Follow its instructions and use a thin coat, because excess glue makes a messy edge.
Saddle stitching is a reliable hand-stitching method for a pouch, but the real goal for a first project is consistency. Keep tension even and make sure every stitch lies in the same direction. At the end of a seam, backstitch a few holes instead of tying a bulky knot where it will rub. The pouch does not need fancy decoration to look handmade. Clean construction is the detail people notice first.
Shape, finish and test the pouch in use
Once the seams are complete, load the pouch and work the flap open and closed several times. If the leather needs a little shape, form it gently around the contents rather than stuffing it until the seams complain. Finish the edges with the method that suits the leather, then let all adhesive, dye and finish dry completely before wearing the pouch. Rushing that last step is a quick way to mark your clothes or trap moisture in a fold.
Wear the finished pouch around the house with its real load. Sit in a chair, walk a few minutes and reach in with one hand. If it swings, pulls the belt downward or makes the flap hard to open, take something out or revisit the placement. That honest test is the same standard I use for a finished carry piece. The best pouch is not the one that looks busiest on a bench. It is the one you forget is there until you need it.
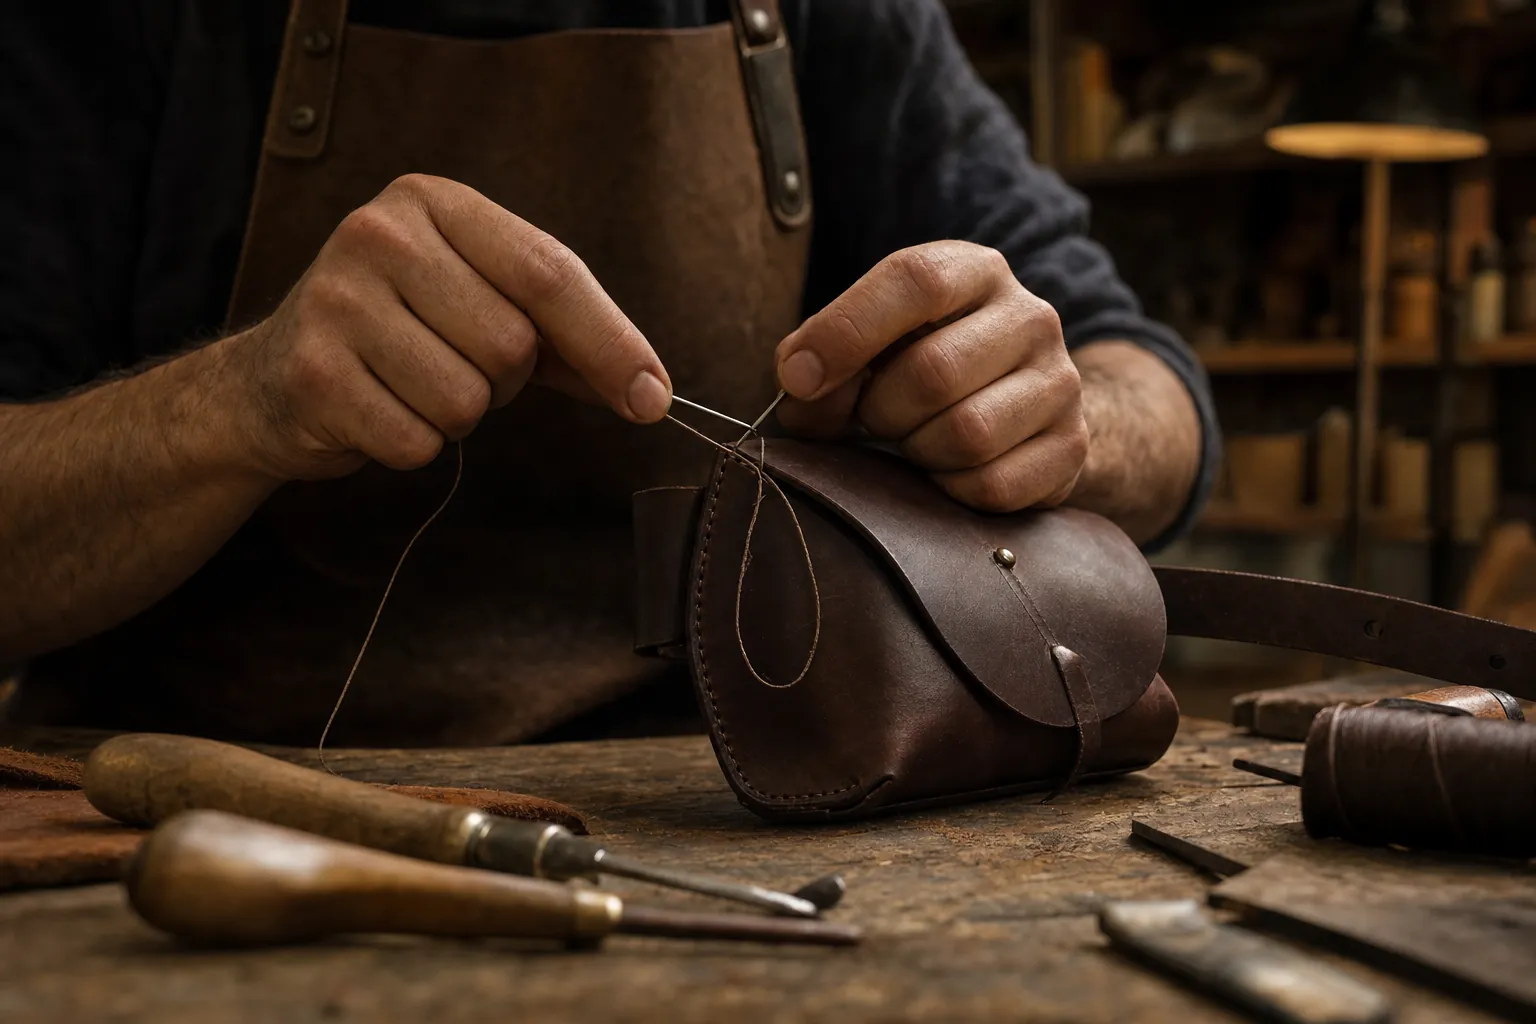
Know when a handmade pouch is the better answer
Making your own pouch teaches you exactly why the details matter. You feel the difference between an easy belt loop and a too-tight one, or between a cleanly finished edge and one that catches at the wrong time. But a first project does not need to become a deadline. If you need a carry piece for an upcoming trip, event or regular everyday use, it can make more sense to let a maker handle the construction while you enjoy the result.
The Highland Nomad is built around that same useful idea: full-grain buffalo leather, a hands-free belt fit and room for the essentials. For a pouch with more decorative character, the Tooled Belt Pouch offers a different finish without losing the practical job. Whether you make one yourself or choose one made at my bench, a good pouch should keep your hands free and your important things close.
Frequently asked questions
What leather weight is best for a belt pouch?
A medium-weight leather is a practical starting point for a structured belt pouch because it has enough body to hold its shape without being difficult to cut and fold. The right choice also depends on the pouch size, closure and load, so test your design in paper before buying a full hide.
How should a leather belt pouch fit on a belt?
It should slide onto the belt without force, sit close to your body and stay reasonably stable when loaded. Make the loop around the belt you actually wear, including its thickness, then test the position by walking, sitting and bending before finalizing the pattern.
Do I need a gusset for a leather belt pouch?
A gusset adds depth and is useful when the pouch needs to hold a phone, wallet or several small essentials. A flat pouch can work for coins, cards or thin tools, but it becomes strained quickly when asked to carry bulk.
Can a beginner hand stitch a leather pouch?
Yes. A simple pouch with straight seams is a good way to practice hand stitching. Keep the pattern modest, mark the stitch line carefully, use a sharp chisel or awl, and focus on even tension rather than trying to add decoration too early.
Keep reading
More from the journal.
The Ultimate Guide to Leather Sporrans
What a leather sporran is, how to wear one with or without a kilt, and why this heritage carry piece still works beautifully today.
Read the guide ↗What Fits in a Leather Belt Pouch?
A practical everyday-carry guide to packing a leather belt pouch without making it bulky, awkward or hard to use.
Read the guide ↗