Leather Care
How to Clean Leather: A Gentle 5-Step Guide
Learn how to clean leather without overdoing it, what to avoid, and when a handmade pouch, bag or cover needs professional help.
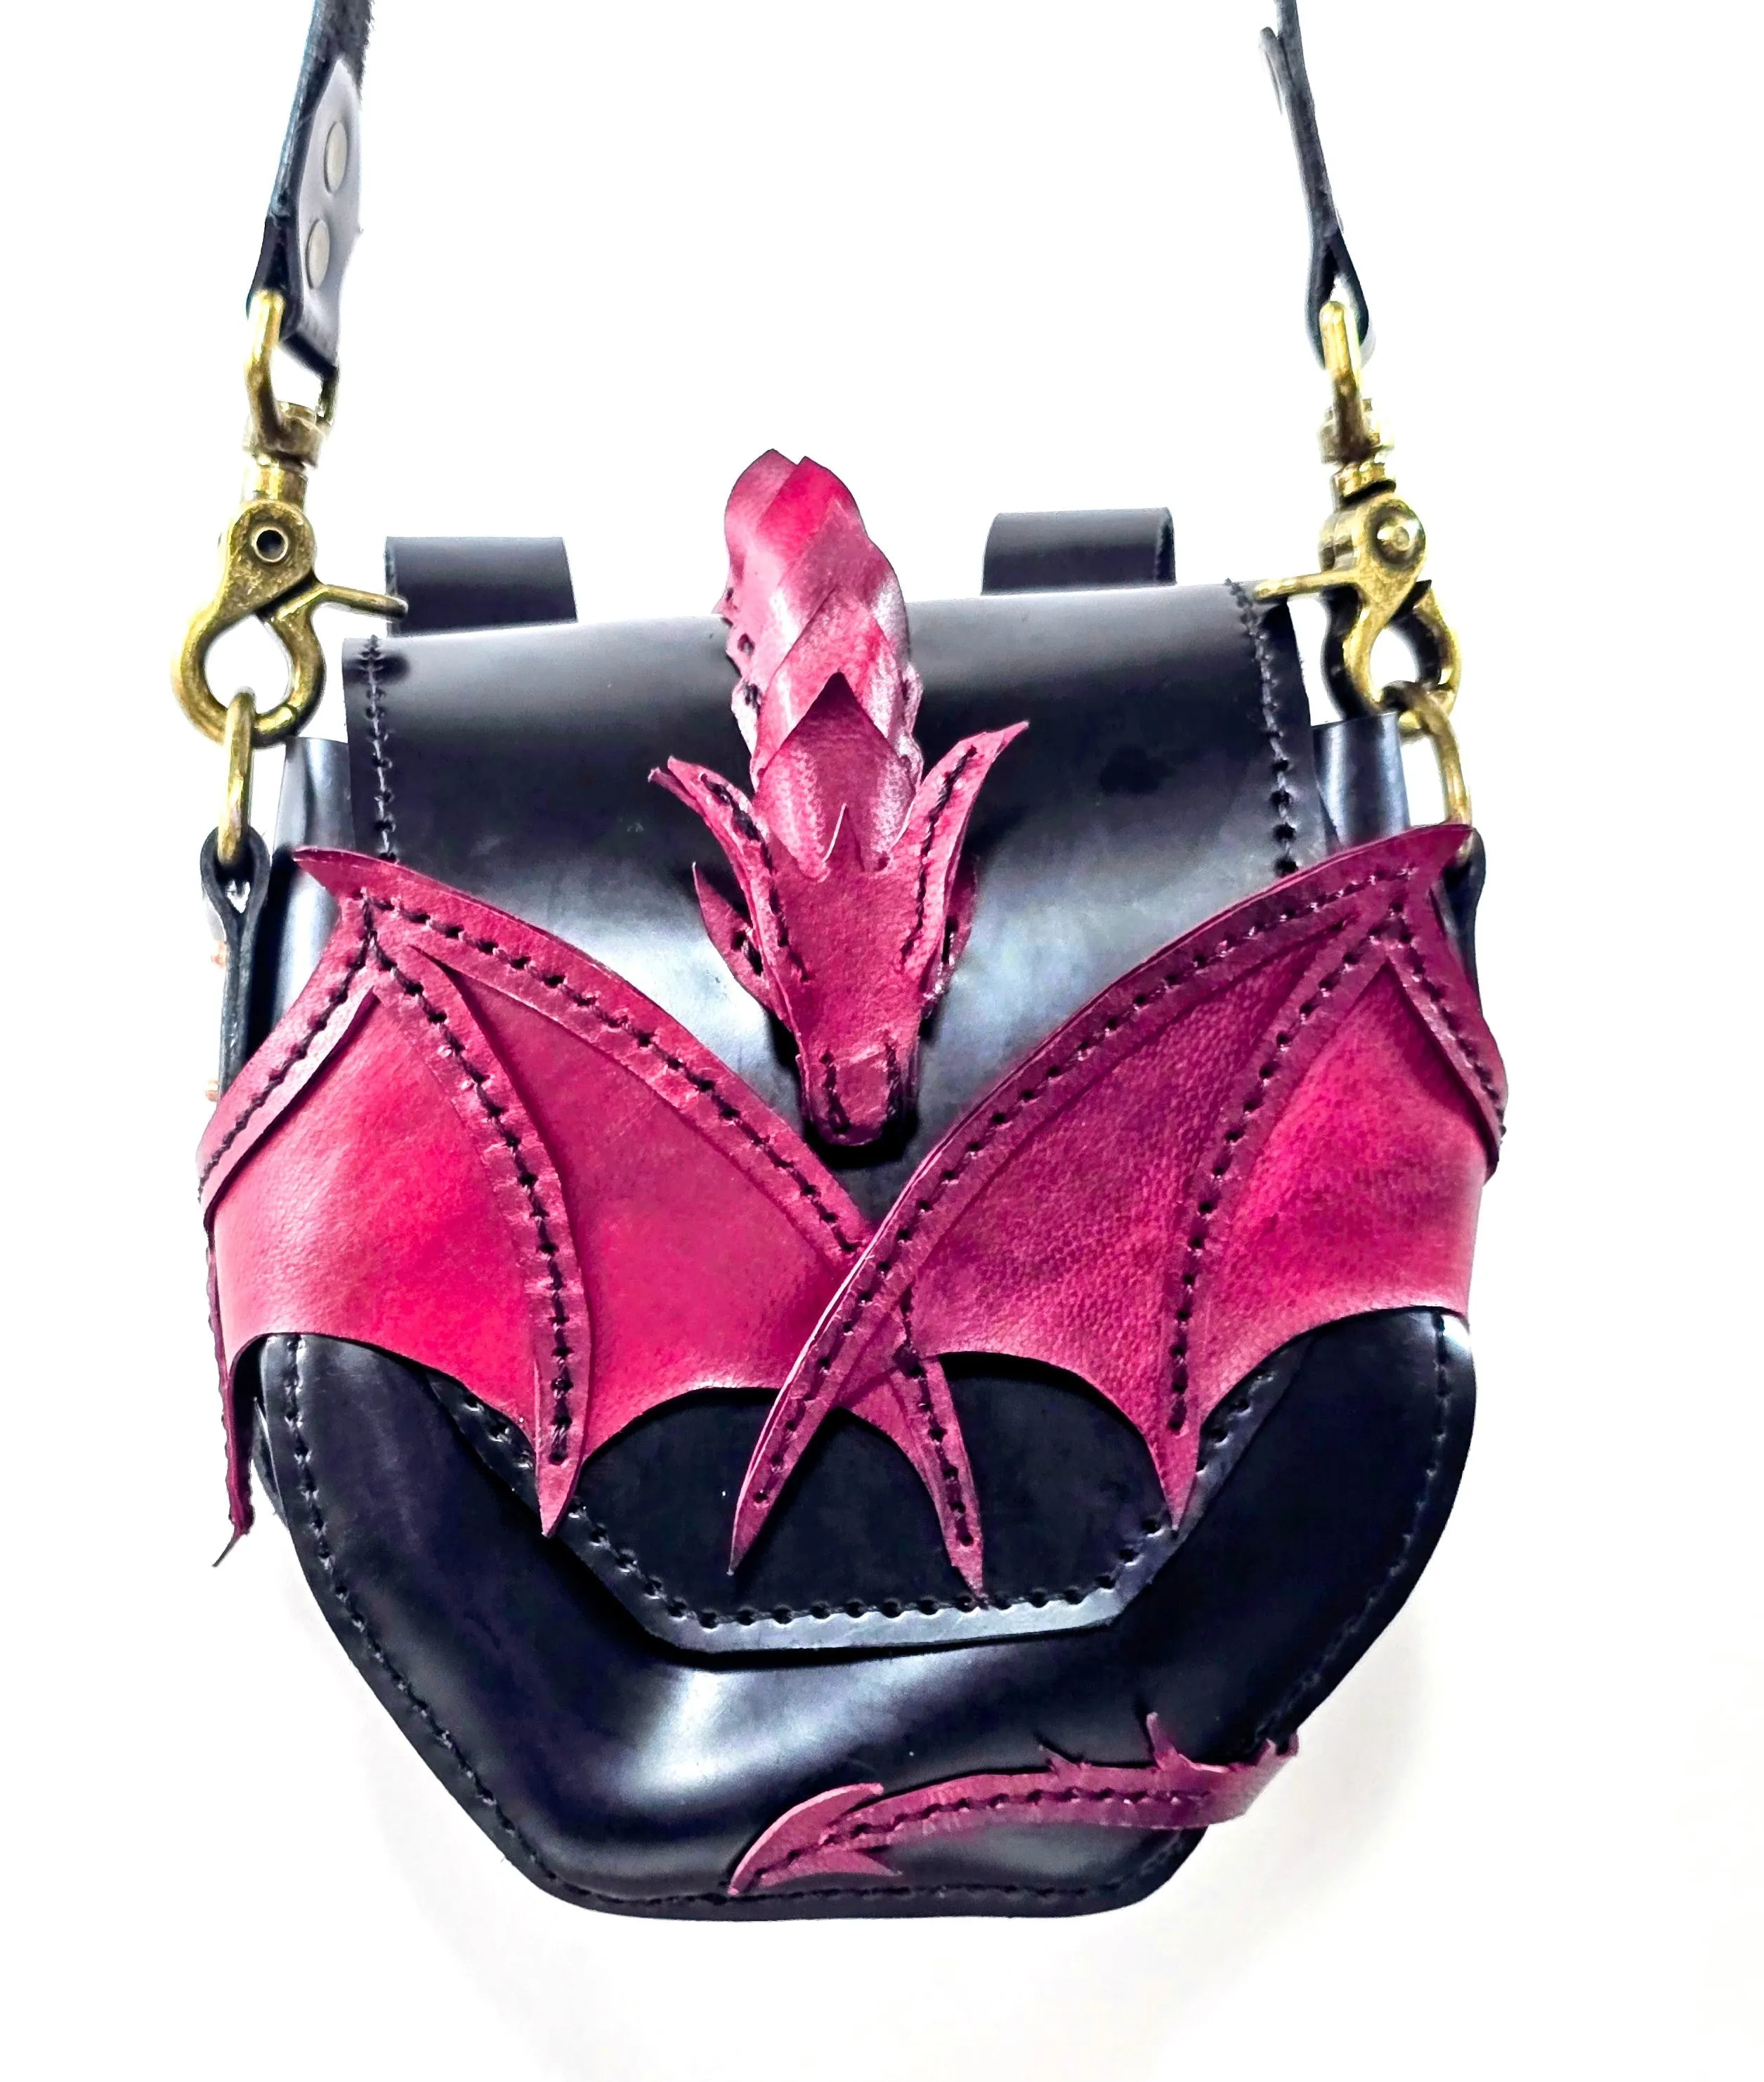
Hi, I’m Eric. Most leather cleaning goes wrong because people mean well and reach for too much: too much water, too much soap, too much rubbing or too much conditioner afterwards. A handmade pouch, journal cover or bag does not need to be treated like a kitchen counter. It needs a calm approach that removes what does not belong on the surface without stripping away the character that makes the leather yours.
For ordinary dust, trail grit and the marks of daily carry, a gentle routine is usually enough. The goal is not to make good leather look factory-new. It is to keep it comfortable to use, let its natural patina develop, and notice the moments when a piece needs a little more help.
First, identify what you are cleaning
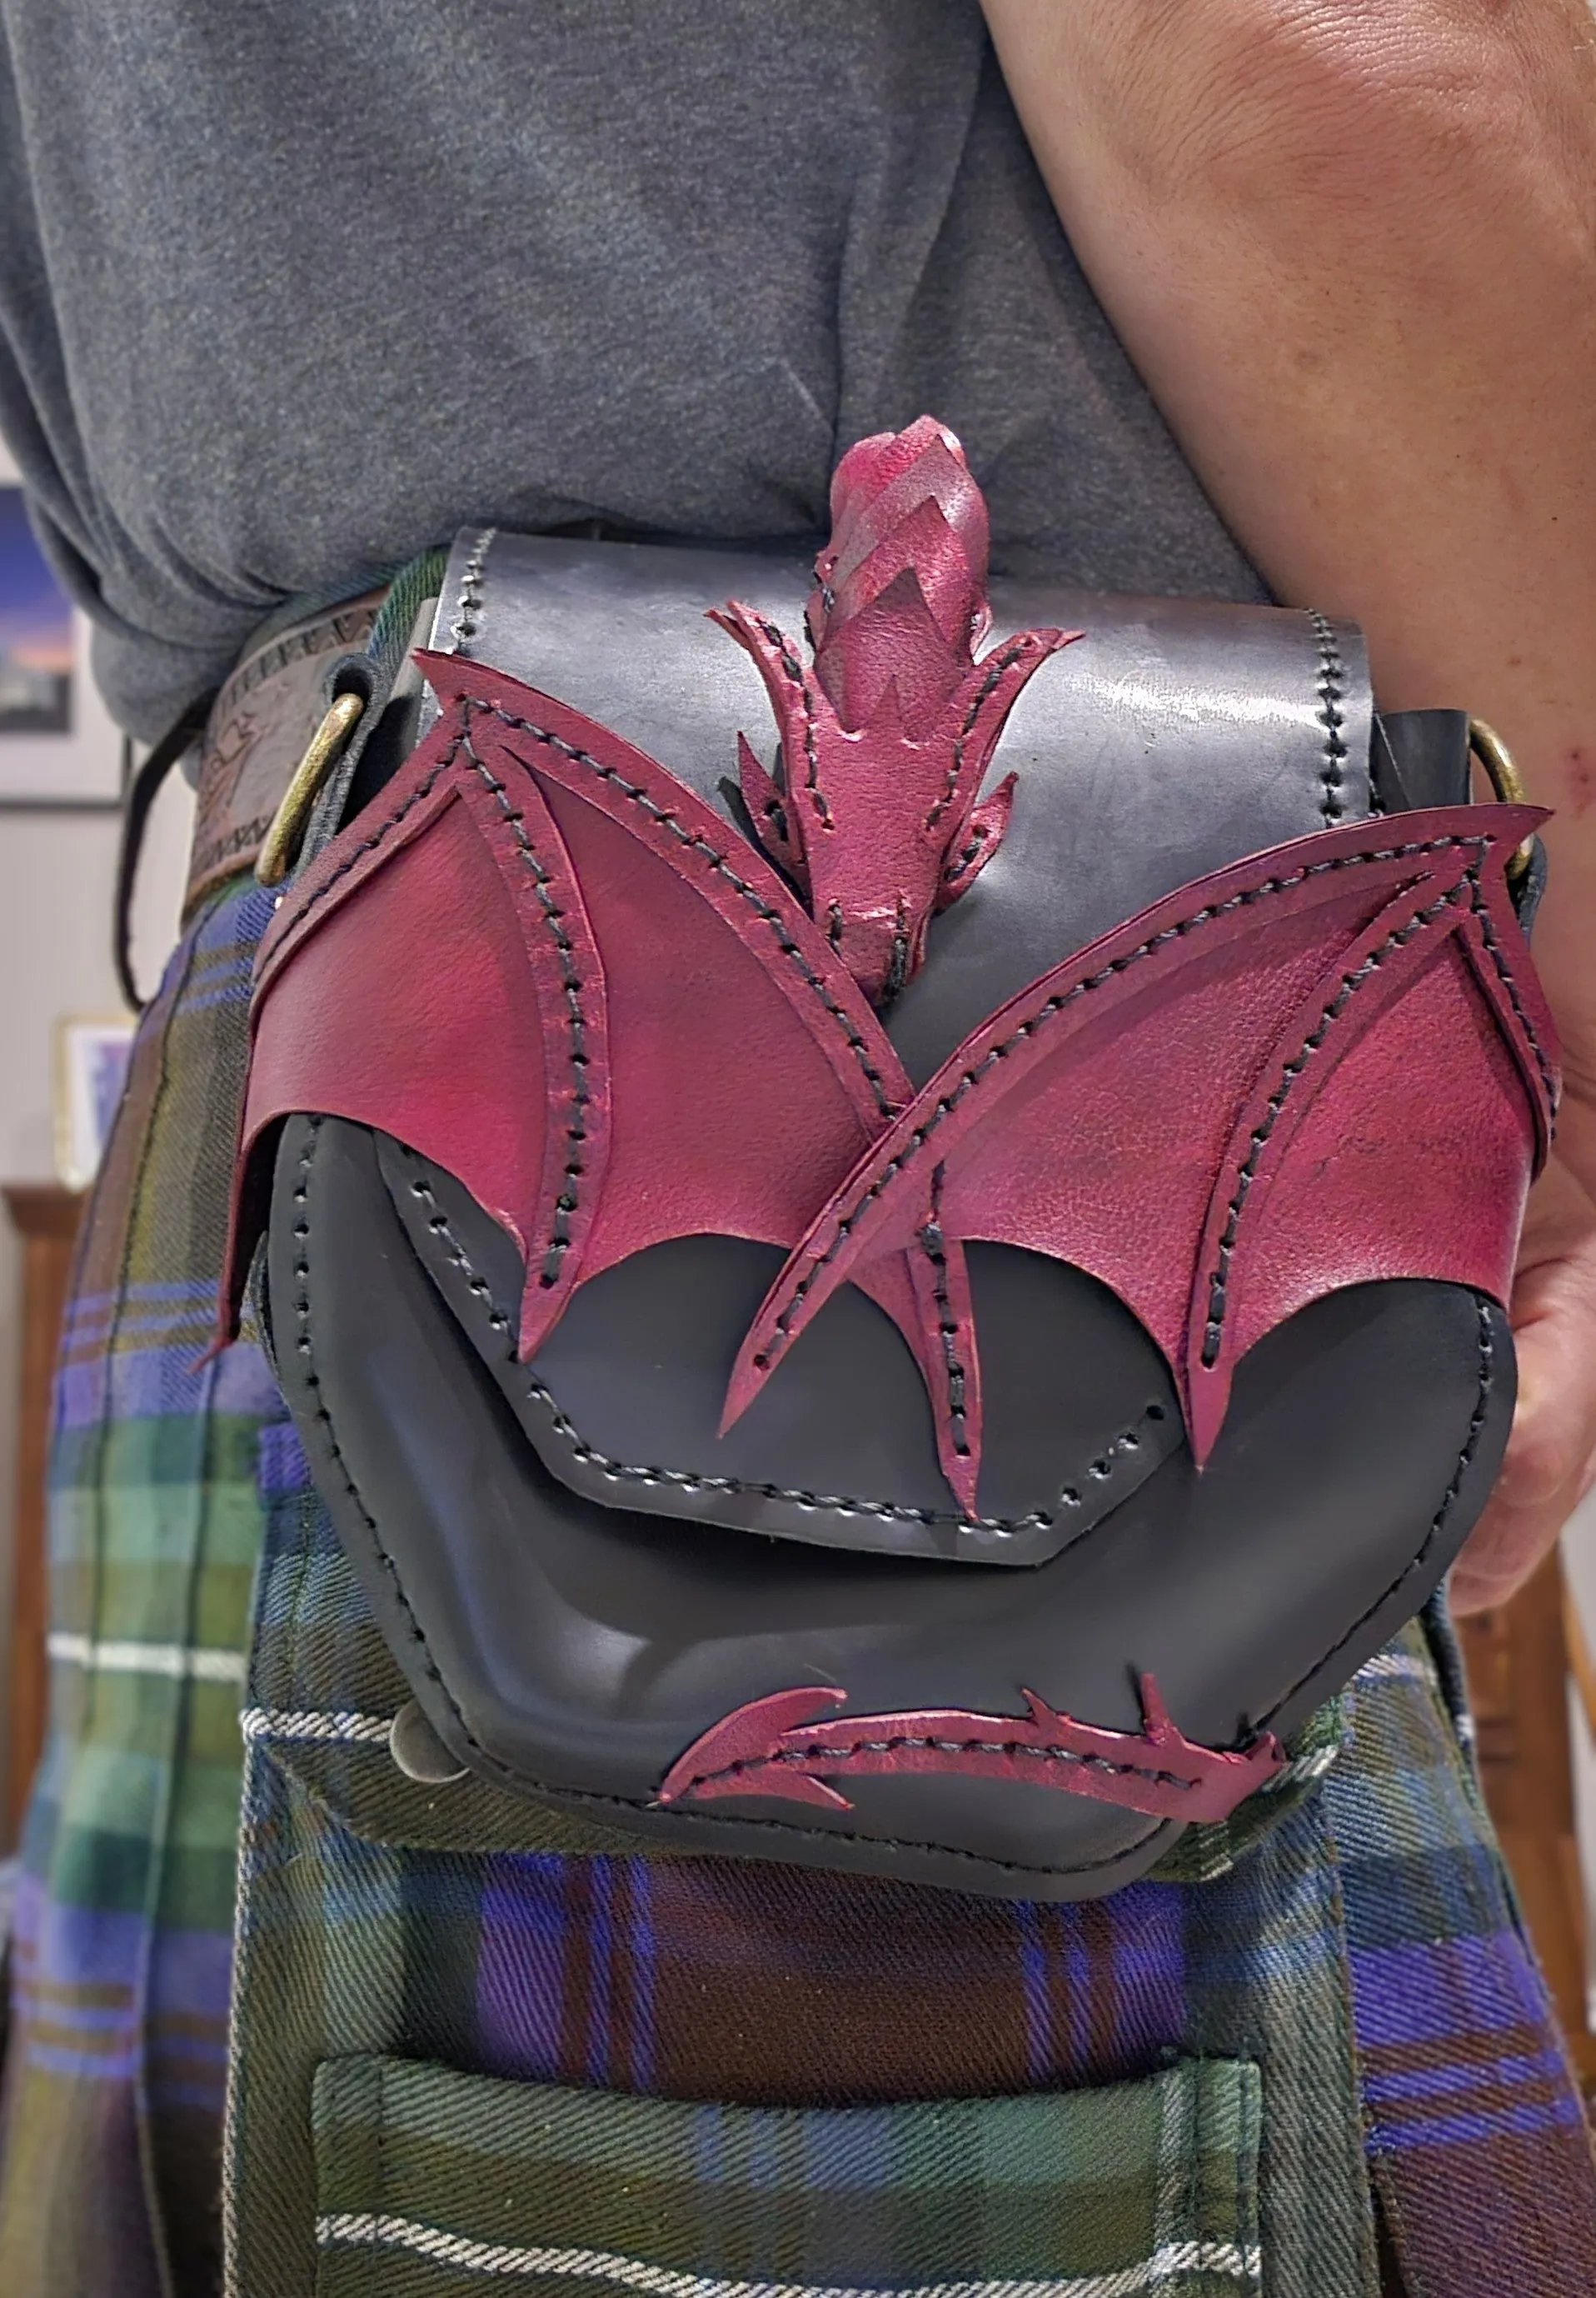
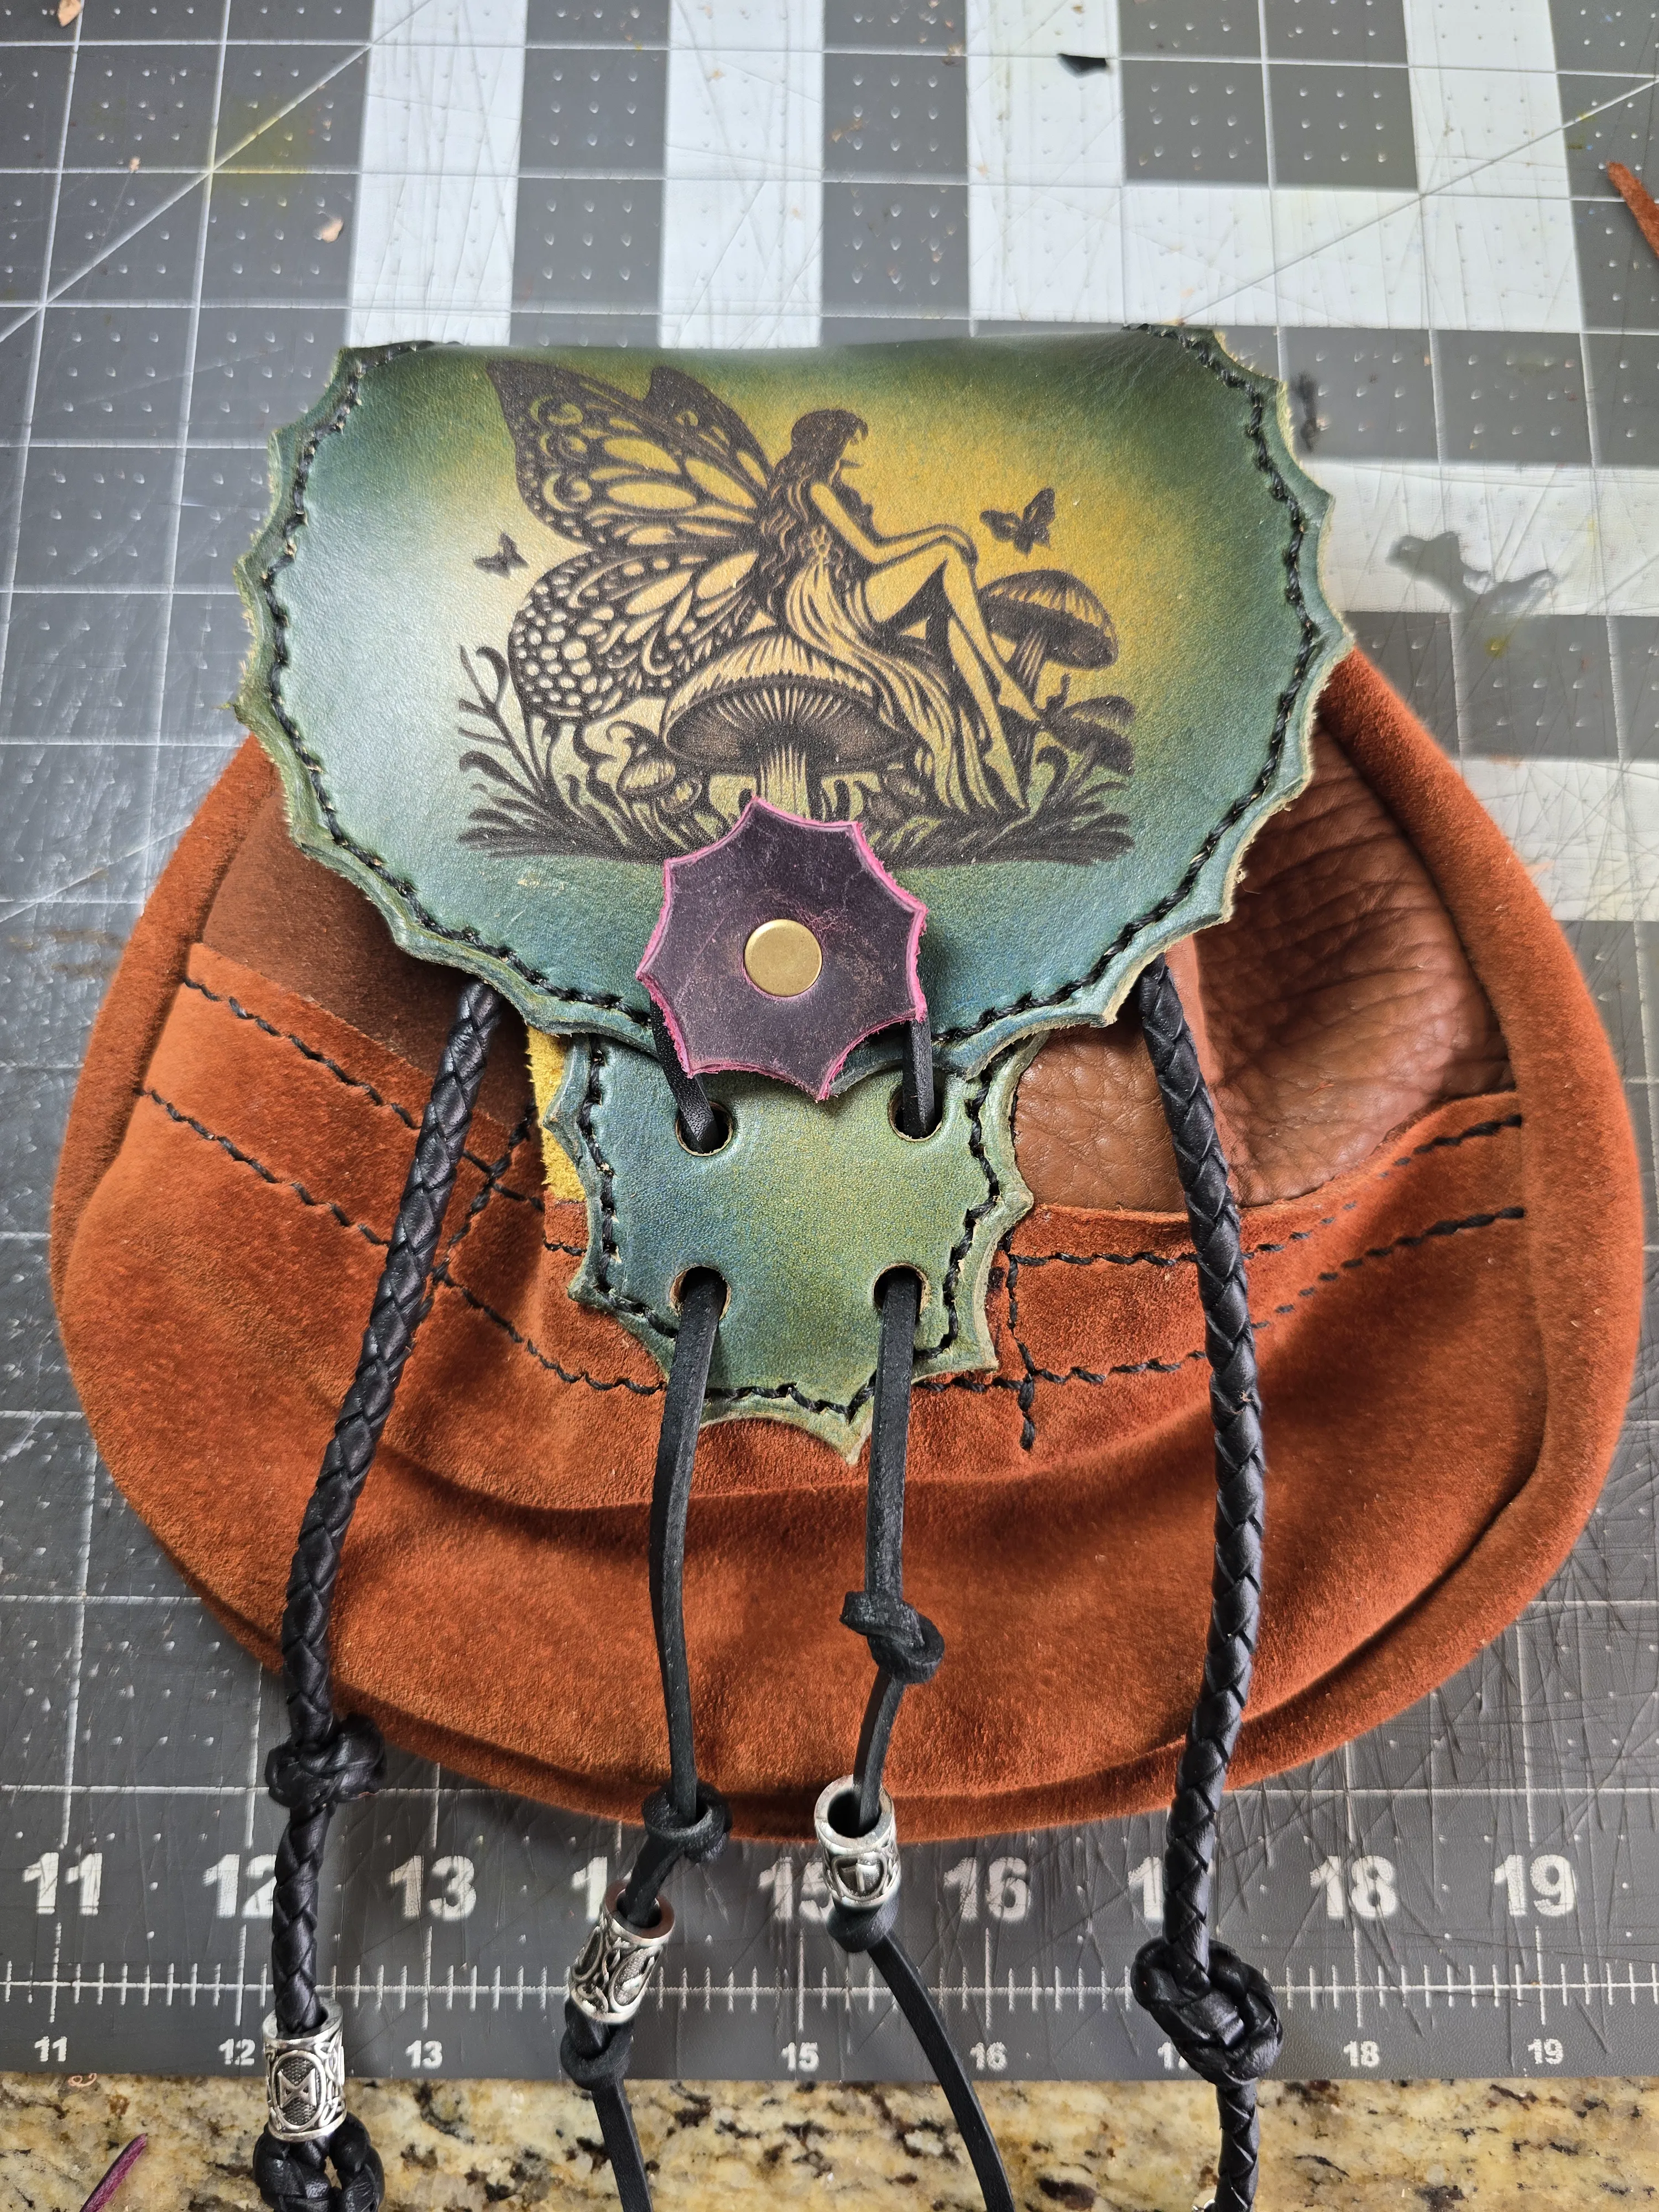
This guide is for smooth, finished leather such as many wallets, bags, belt pouches and journal covers. It is not a universal recipe for every leather finish. Suede and nubuck have a raised surface. Hair-on leather has its own direction and texture. Patent leather has a coated finish. Those materials can be damaged by the damp-cloth and conditioning routine that works for some smooth leathers.
Look at the piece before you begin. Is the problem loose dust, dried mud, a small surface mark, a water splash or something oily and set in? Also look for a maker’s care card or product guidance. The Leather Working Group advises checking with the maker or retailer when care instructions are not specific to the leather. That is sensible advice, because finish, dye and construction change what a piece can safely handle.
Step 1: Empty the piece and remove dry grit
Take everything out of a pouch, bag or cover. Open flaps and pockets so you can see where dust has settled. Then use a clean, soft, dry cloth to wipe the surface with light passes. A soft brush can help around seams, folds and hardware, but do not grind it into the leather. You are lifting dry particles, not polishing the surface.
This quiet first step matters. Dirt can behave like a mild abrasive when it is rubbed across leather with moisture or cleaner. Removing it dry first gives you a much clearer view of what remains. It also prevents the common mistake of turning a dusty patch into a muddy one.
Step 2: Use the smallest amount of moisture that will do the job
For a light mark on smooth finished leather, dampen a clean, light-colored cloth with water, then wring it out thoroughly. The cloth should feel barely damp, never wet enough to leave the leather shiny with water. Wipe the area with gentle, even strokes. Do not scrub one tiny spot until it turns pale, shiny or fuzzy.
That restraint is not preciousness. The care guidance from Marimekko’s leather-bag guide similarly starts with a soft brush or damp cloth for dust and dirt. If the mark is stubborn, pause before escalating. A cleaner made for the specific finish may be appropriate, but household detergent, disinfectant wipes, furniture polish, ammonia and random kitchen remedies are not a good experiment on a piece you want to keep.
Work from the least aggressive method upward
A useful rule at the workbench is to give the mildest method a fair chance before reaching for the next one. Start dry. Then try a barely damp cloth for ordinary surface soil. Only then consider a product made for leather, and only when you know it suits the finish. This sequence is slower than attacking a mark with whatever is under the sink, but it protects both the leather and your options. You can always do a little more. You cannot easily put dye or a worn finish back once a harsh cleaner has taken it away.
It also helps to clean the surrounding area lightly rather than concentrating all the attention on a coin-sized spot. A small patch can look noticeably different if it becomes much cleaner, darker or more polished than the leather around it. Use a light hand, keep your motions even and step back after each pass. Good leather often has natural variation already. The aim is a clean, comfortable piece, not an unnaturally uniform surface.
If you decide to use a leather cleaner, read its instructions and test it somewhere discreet first, such as an inside edge or the underside of a flap. Let that small test dry completely before treating the visible area. Color transfer to the cloth, a sudden dark patch or a change in feel are signals to stop. A careful test is not wasted time. It is how you learn what that particular piece can handle without risking the front of the item.
Step 3: Treat spills gently, then let time help
If water lands on leather, blot it promptly with a clean, absorbent cloth. Press and lift. Do not rub a wet spot outward, because that can spread the moisture and leave a larger ring. If the item has lost its shape, gently return it to its normal form and let it rest.
Oil, ink, dye transfer and unknown stains are different matters. Aggressive spot treatment can make the original mark worse by spreading it, removing dye or creating a noticeably cleaner patch. This is the moment to be honest about the limit of home care. If the item is valuable, deeply stained or has a specialty finish, a professional leather cleaner is the safer next step. A little patience is often kinder than a cabinet full of untested remedies.
Give the inside the same quiet attention
For bags and belt pouches, turn your attention to the inside after the exterior is clean. Shake out loose debris, then use a dry cloth or a vacuum with a soft brush attachment held just above the lining. Be conservative around stitched pockets and closures. The interior is where grit, crumbs, pen caps and small metal objects tend to live, and clearing them out helps prevent an ordinary day of carry from turning into a surprise scratch or stain later.
Do not flood a lining or spray cleaner into a pouch. If there is a serious spill inside, empty the piece and let it air out before deciding what it needs. The goal is the same as outside: remove what you safely can, then stop before moisture spreads into layers that take much longer to dry. A well-kept pouch feels better to use because the essentials inside stay orderly, not because it has been scrubbed within an inch of its life.
Step 4: Air dry slowly, away from heat
Leather needs time to dry evenly. Leave it at room temperature with good air movement, away from a radiator, hair dryer, heating vent or sunny window. Strong heat can pull moisture out too quickly and leave a piece stiff, shrunken or uneven. Marimekko’s guidance is direct on this point: blot wet leather, then let it air dry rather than using a hair dryer or hot place.
Do not judge the result while the leather is still damp. It may temporarily look darker, feel firmer or show a faint edge where moisture stopped. Give it time to settle. Once completely dry, handle it and look at it in ordinary light. Often the surface needs nothing more than that.
Step 5: Condition only when the leather asks for it
Cleaning removes surface soil. Conditioning supports leather that feels genuinely dry or stiff. Those are separate jobs, and not every cleaning session needs both. If the leather feels supple once it is dry, leave it alone. If it seems dry, use a small amount of a conditioner suited to the finish, test it in a hidden place and apply a thin, even coat.
Over-conditioning can darken leather, soften it more than intended or leave a sticky surface that attracts dust. The right result is a piece that feels comfortable and remains true to its character, not a glossy surface that looks freshly coated. Our guide to conditioning leather without overdoing it explains the simple follow-up routine.
What not to use on handmade leather goods
Skip harsh household cleaners, bleach, alcohol-heavy wipes, ammonia, nail-polish remover, furniture polish and abrasive scrubbers. They may seem effective for a moment, but they can remove dye, harm a finish or leave a bigger visual problem than the original mark. Avoid soaking leather, too. It is a material with structure, not a washable fabric.
Be equally cautious with oils and miracle treatments. Something recommended for boots, furniture or an unfinished work belt is not automatically right for a thin wallet, colored journal cover or hand-finished pouch. Test a hidden area, use less than you think you need and stop if the surface changes in a way you do not like.
Keep cleaning from becoming a repair project
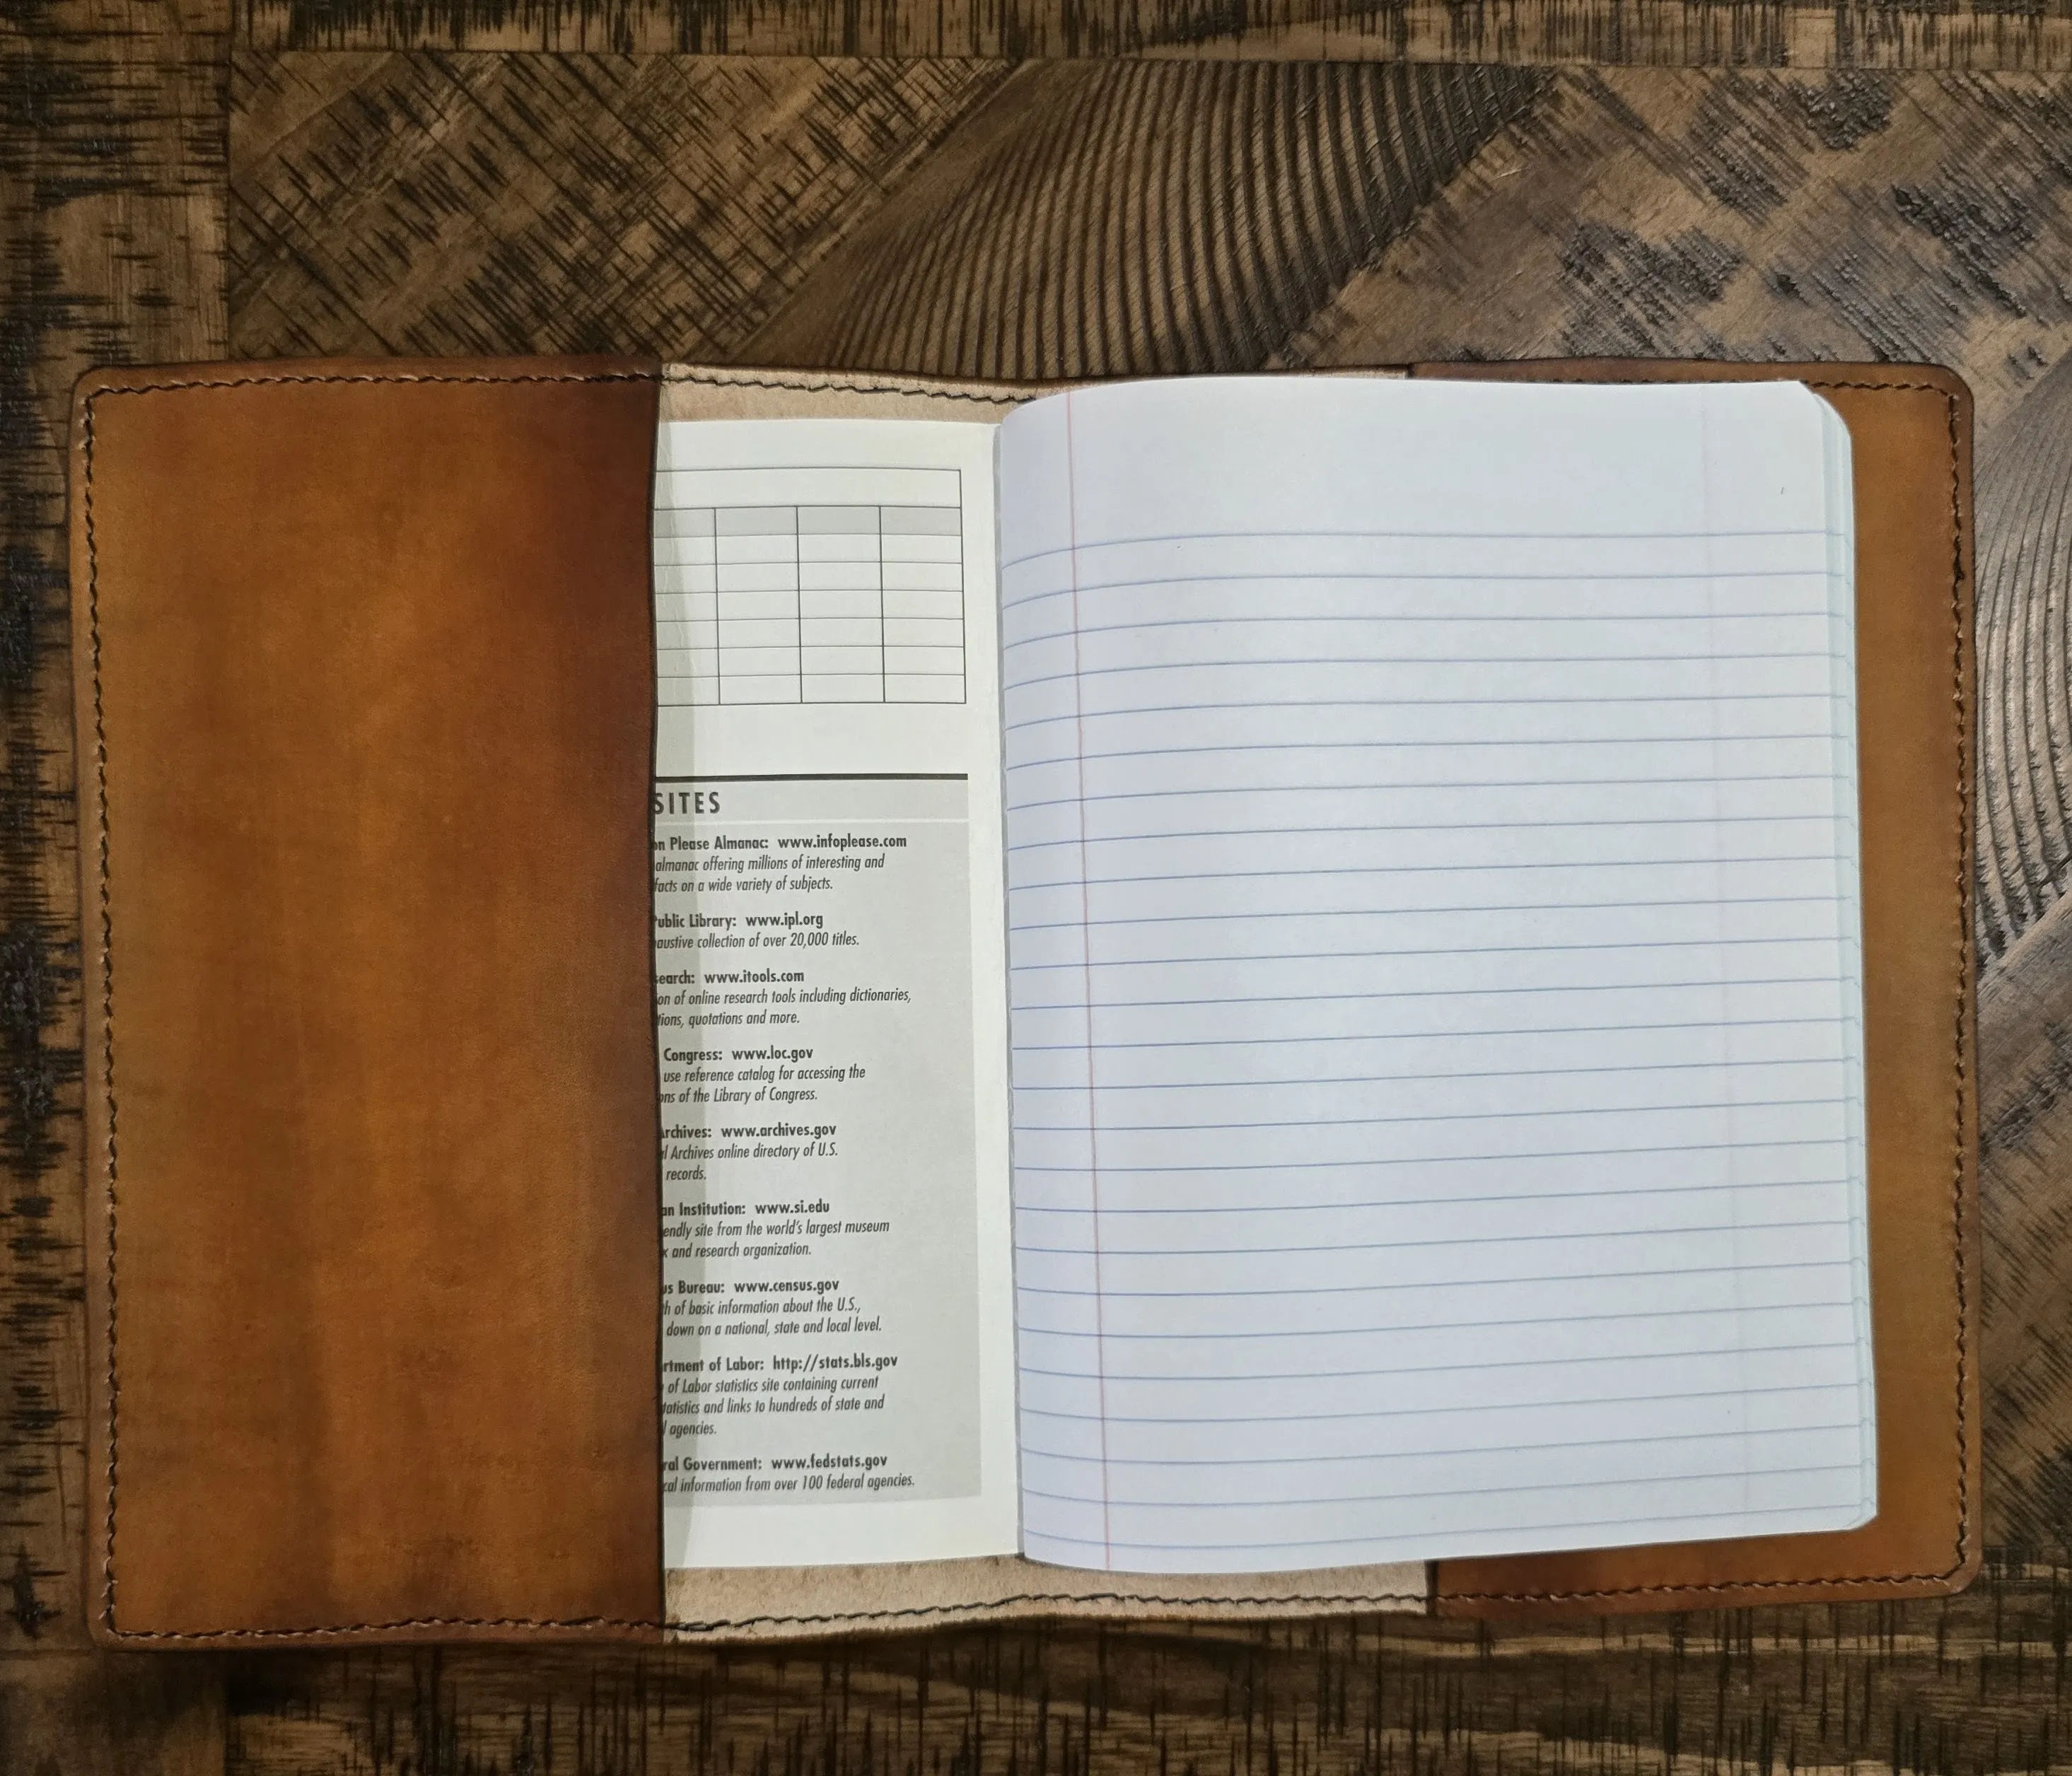
The best care is usually simple prevention. Empty a belt pouch after a dusty outing. Keep pens capped inside a journal cover. Do not overfill a bag until seams and closures are carrying more strain than they should. Store pieces away from prolonged sun, heat and damp, and give them enough room to keep their shape.
At The Kilted Leatherworker, I make pieces to be carried, not hidden. The Highland Nomad and our other leather goods are meant to collect a little honest history. A scuff or a softened edge is not a reason to panic. Clean away real dirt, dry a splash properly, condition only when needed, and let the piece keep becoming your own. If damage affects stitching, hardware or function, reach out before turning a small repair into a larger one.
Frequently asked questions
What is the safest way to clean leather?
Start with a soft, dry cloth or brush to lift dust. For light surface soil on smooth finished leather, use a clean cloth that is only slightly damp, work gently and let the item air dry away from heat. Test any cleaner in a hidden spot first.
Can I use soap and water to clean leather?
Do not soak leather or use household detergents. A maker-approved leather cleaner may be appropriate for a deeper clean, but water and product should be used sparingly. Different finishes react differently, so follow the maker's care guidance when you have it.
How do I dry wet leather?
Blot moisture with a clean, light-colored cloth, reshape the item if needed, and let it dry naturally at room temperature. Avoid hair dryers, radiators, direct sun and other strong heat, which can leave leather stiff or uneven.
Should I condition leather after cleaning it?
Only if the leather feels dry or stiff after it is fully dry. Cleaning and conditioning are different jobs. A light conditioner can support dry smooth leather, while too much can darken it or leave a residue.
Can I clean suede or nubuck the same way?
No. Suede, nubuck, hair-on and other specialty finishes need finish-specific care. Do not use the damp-cloth routine meant for smooth leather. When in doubt, stop and ask the maker or a leather-care professional.
Keep reading
More from the journal.
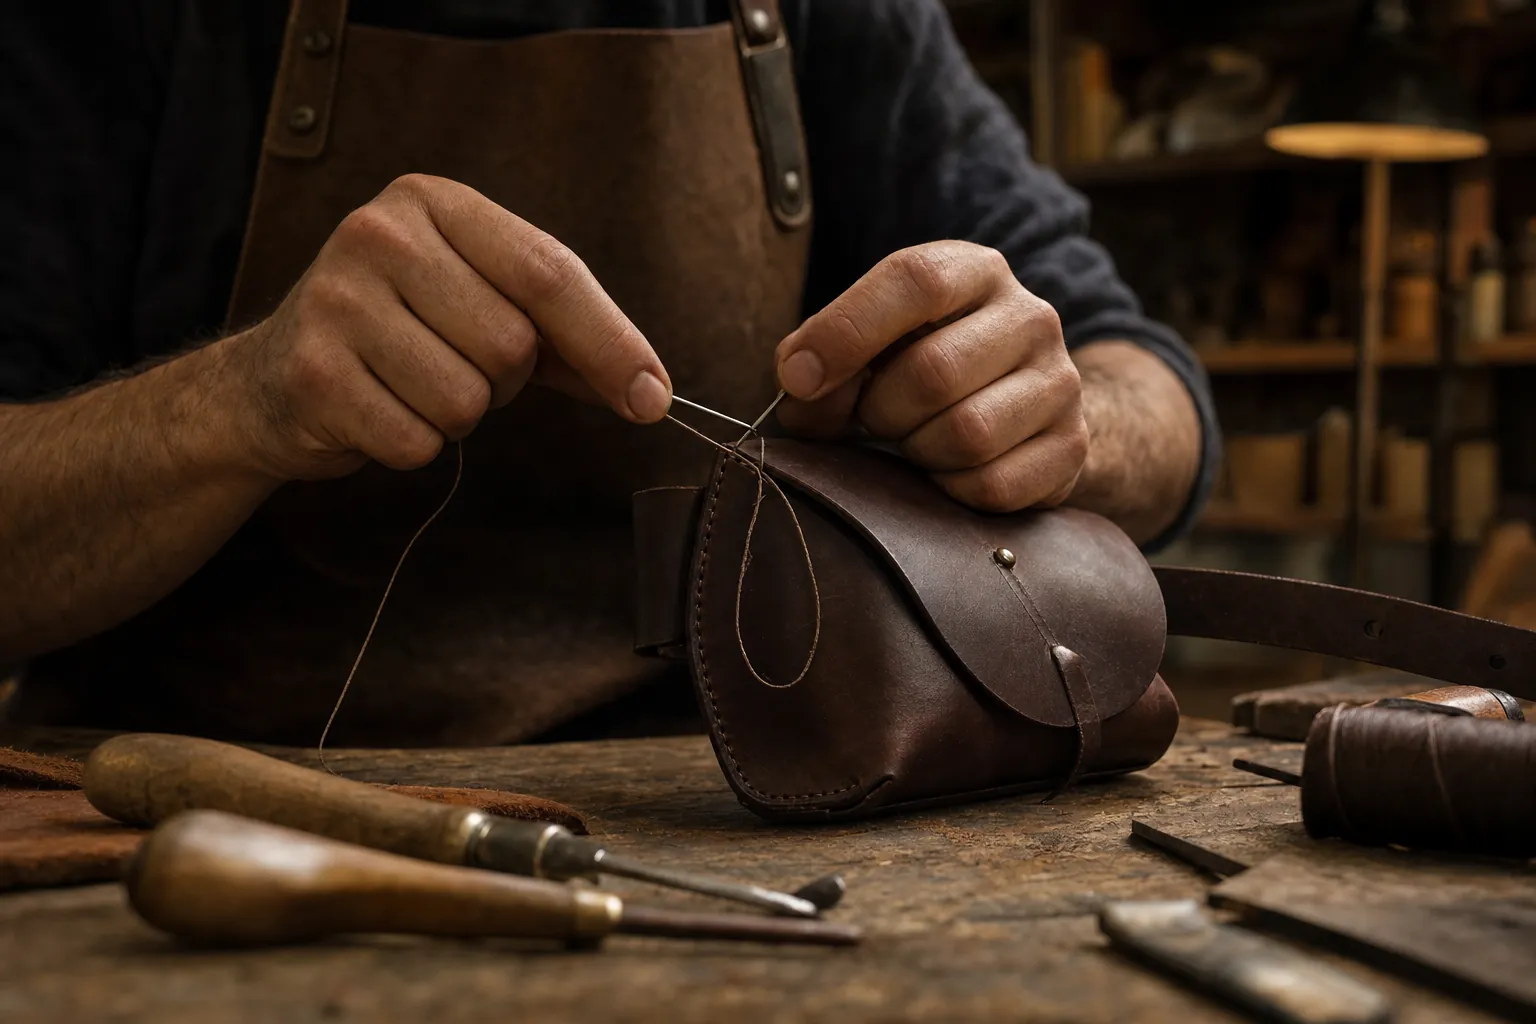
How to Condition Leather Without Overdoing It
A practical, maker-minded routine for keeping full-grain leather supple, clean and ready for the years ahead.
Read the guide ↗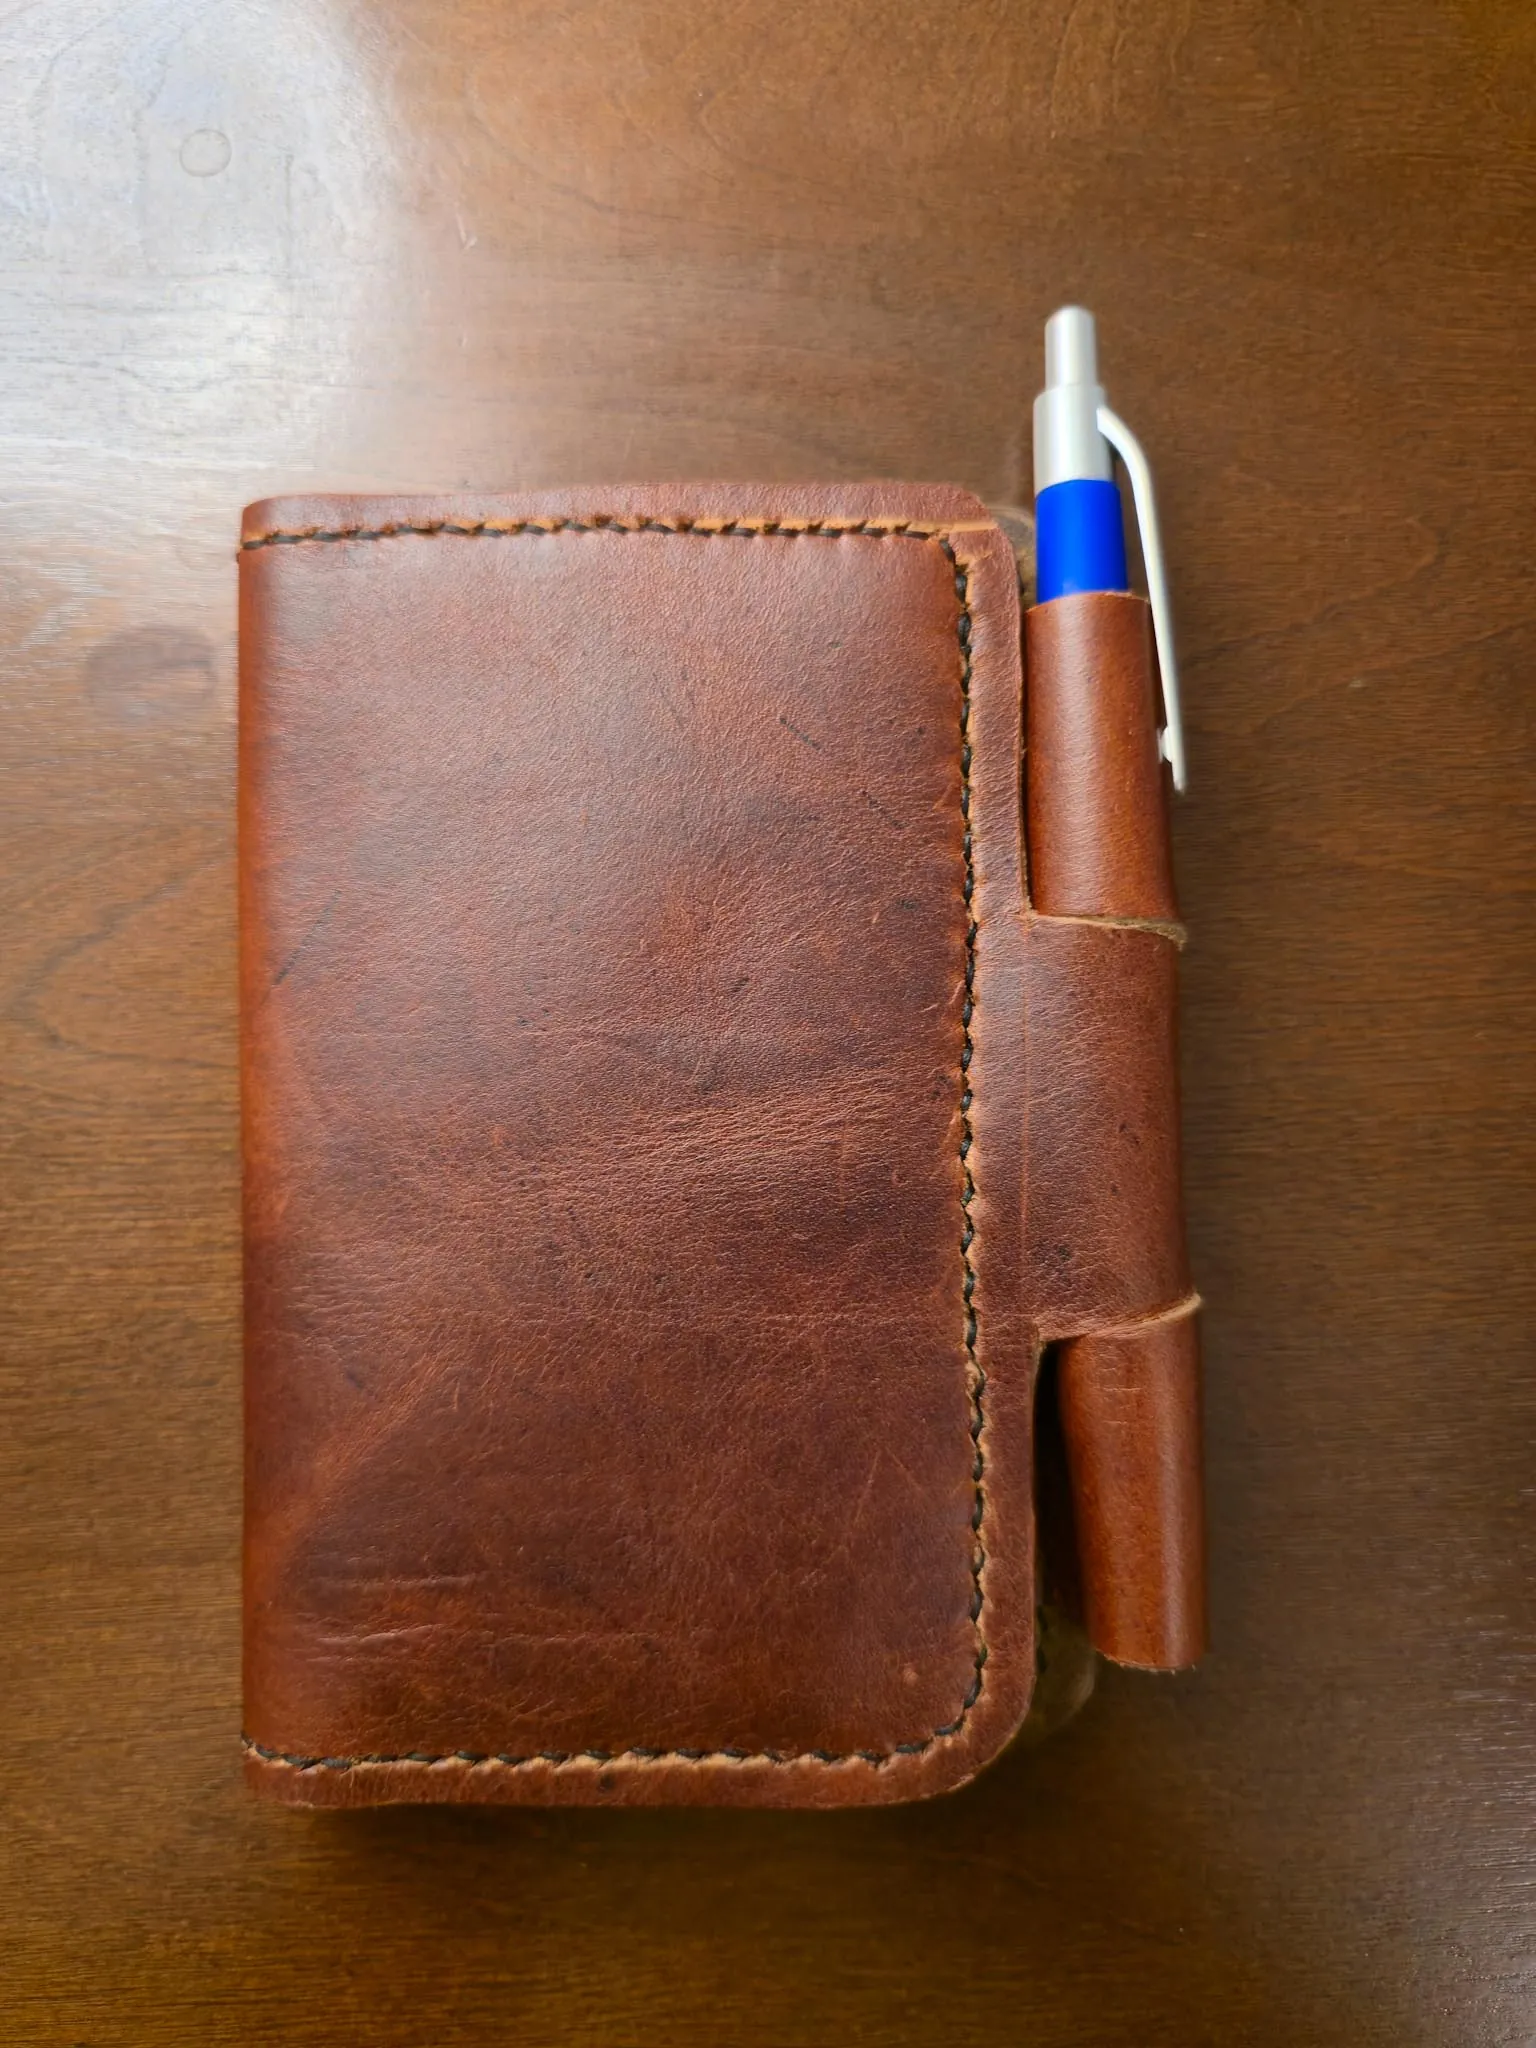
Handmade Leather Goods Secrets Revealed: How to Get the Perfect Patina
What leather patina really is, how it develops, and the simple habits that help a well-made piece gain character naturally.
Read the guide ↗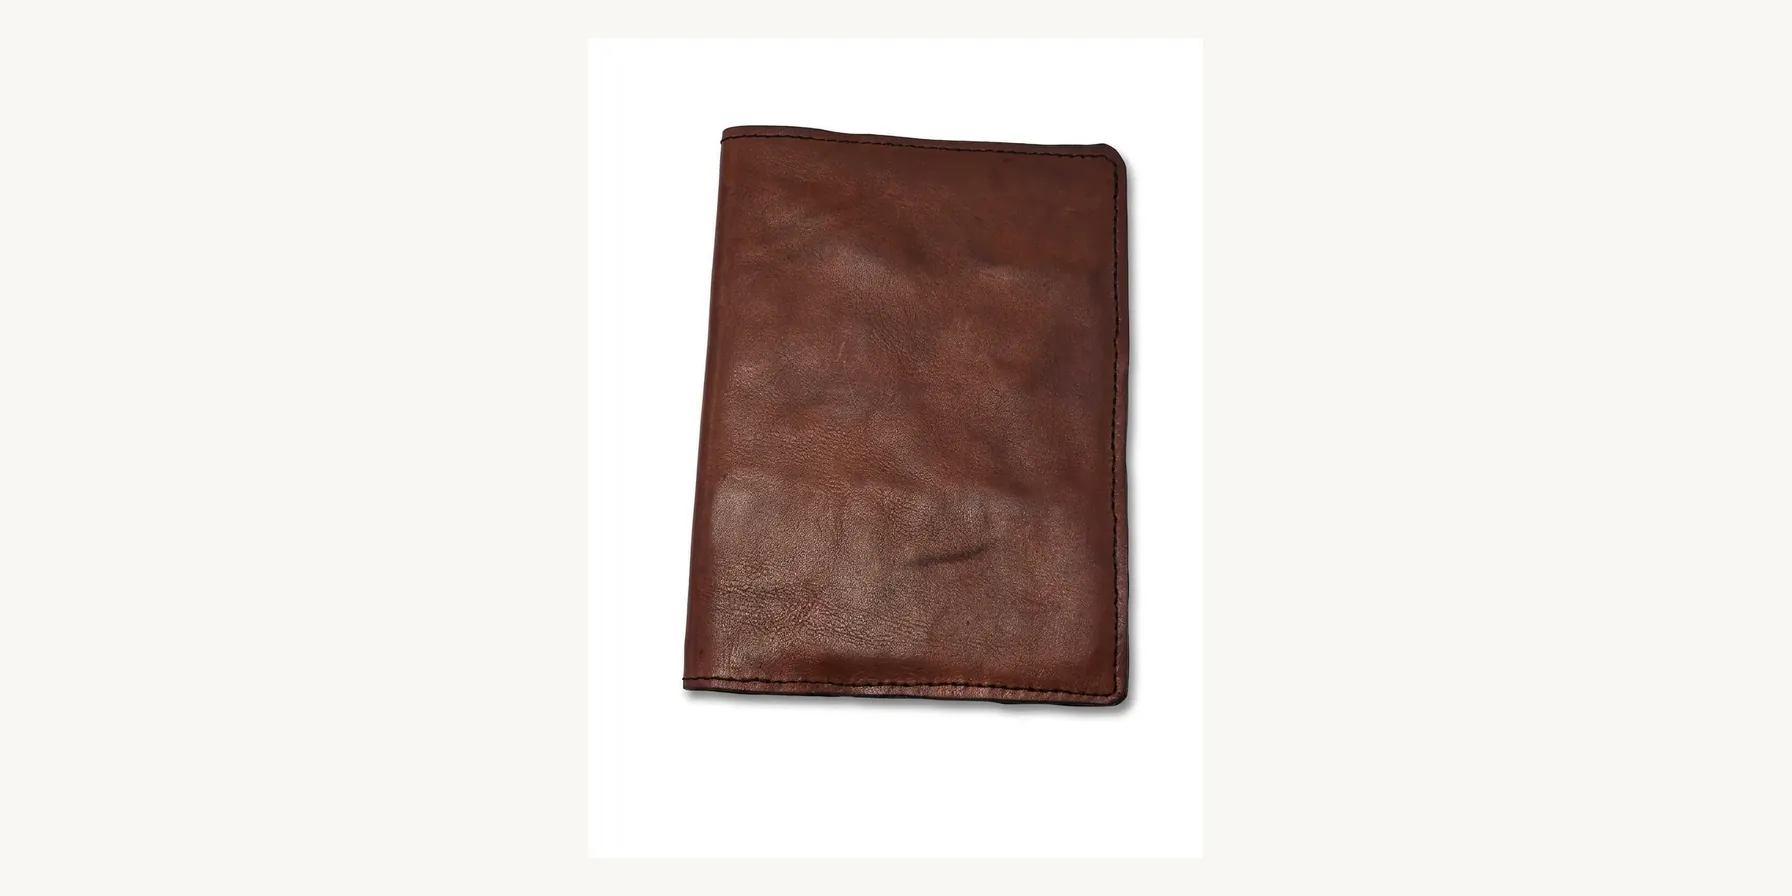
What Is Vegetable-Tanned Leather? A Maker’s Guide
How plant tannins turn hides into durable leather, why it changes with use, and what that means for the pieces you carry.
Read the guide ↗