Adventure Journaling
How to Make a Leather Journal Cover: A Maker’s Starter Guide
A practical introduction to planning, cutting and finishing a simple leather journal cover, with the measurements and mistakes worth understanding before you begin.
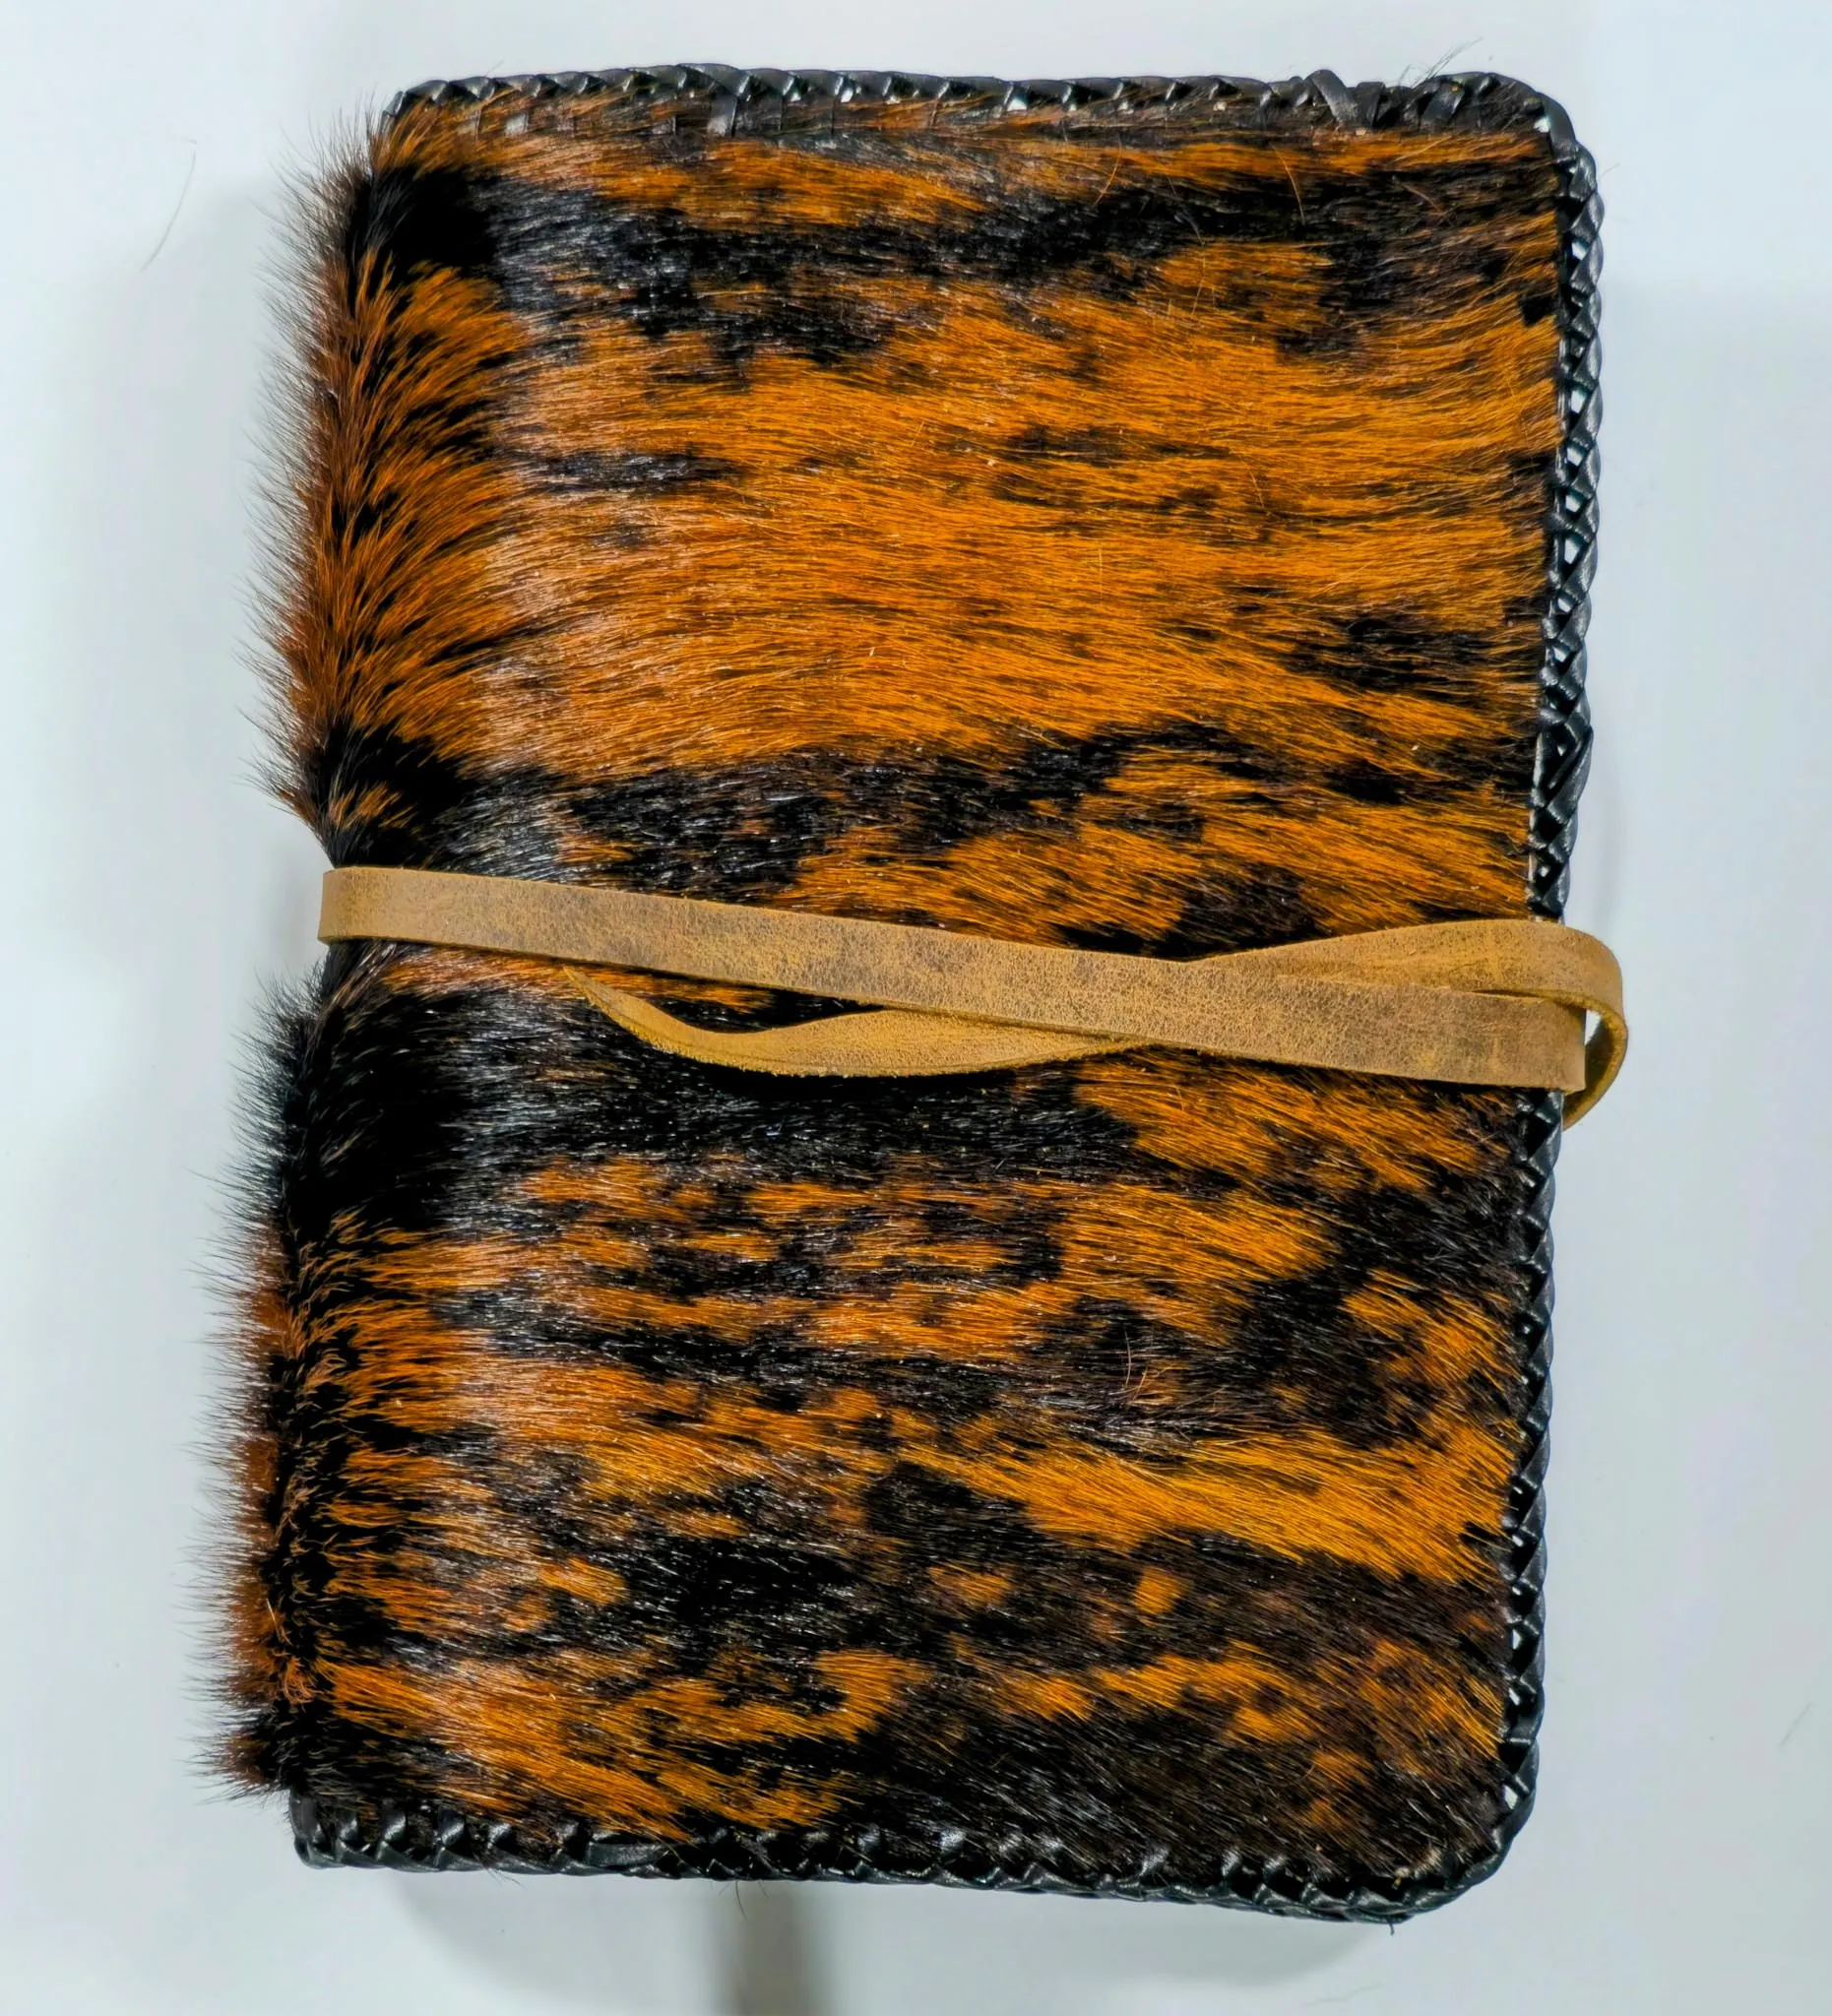
A leather journal cover is one of the best beginner projects because it teaches nearly every useful lesson in miniature: choosing leather, measuring a real object, cutting cleanly, allowing for thickness and finishing something you will handle every day. It can also be deceptively simple. A flat piece of leather wrapped around a notebook may look complete, yet a cover that pinches at the spine, curls at the corners or leaves raw edges rough will make itself known every time you use it.
I am Eric, and at my bench I start with the notebook rather than a pattern pulled from the air. The cover exists to serve the book you enjoy carrying. This guide is a sensible first path for making a simple wrap or pocket-style leather journal cover. It will not turn an afternoon into a factory, and it is not a substitute for learning safe tool use, but it will help you understand the decisions that make a handmade cover feel calm and useful.
Start with the notebook, not a guessed size
Choose the exact notebook you want to cover before you buy leather or draw a line. Close it naturally and measure its outside height, outside width and spine thickness. Include the existing cover, elastic, pen loop, tabs and anything you normally keep tucked inside. A5 describes the page size, but a finished A5 notebook can be noticeably larger once its hard cover and binding are included. The A5 notebook-cover size guide explains why that difference matters when leather is meant to fit closely.
For a first project, a stitched or glued notebook is easier than a spiral book. A coil adds width and creates a hard ridge that needs extra allowance. If you do choose a spiral or a thick planner, measure across its widest point rather than only across the paper. The goal is not a cover that barely closes on day one. It is one that opens, closes and stays comfortable after the notebook has been used for a while.
Choose leather that forgives a first project
Vegetable-tanned leather is a friendly place to start because it has enough body to cut, crease and shape cleanly. A medium-weight piece, roughly 3 to 4 ounces, often works well for a simple journal cover. It has structure without becoming hard to fold around a notebook. Softer chrome-tanned leather can make a lovely cover too, but it may stretch more and can be harder to mark precisely for a beginner.
Look for a clean piece with a surface you enjoy touching. Natural marks, grain variation and small scars are not faults to fear, they are part of leather's character. Avoid leather that is extremely stiff, very thin, cracked, or heavily finished if you want to stamp, burnish or shape it. If you are curious about the material itself, our guide to vegetable-tanned leather explains why it starts firm and changes with handling.
Gather a small, useful tool kit
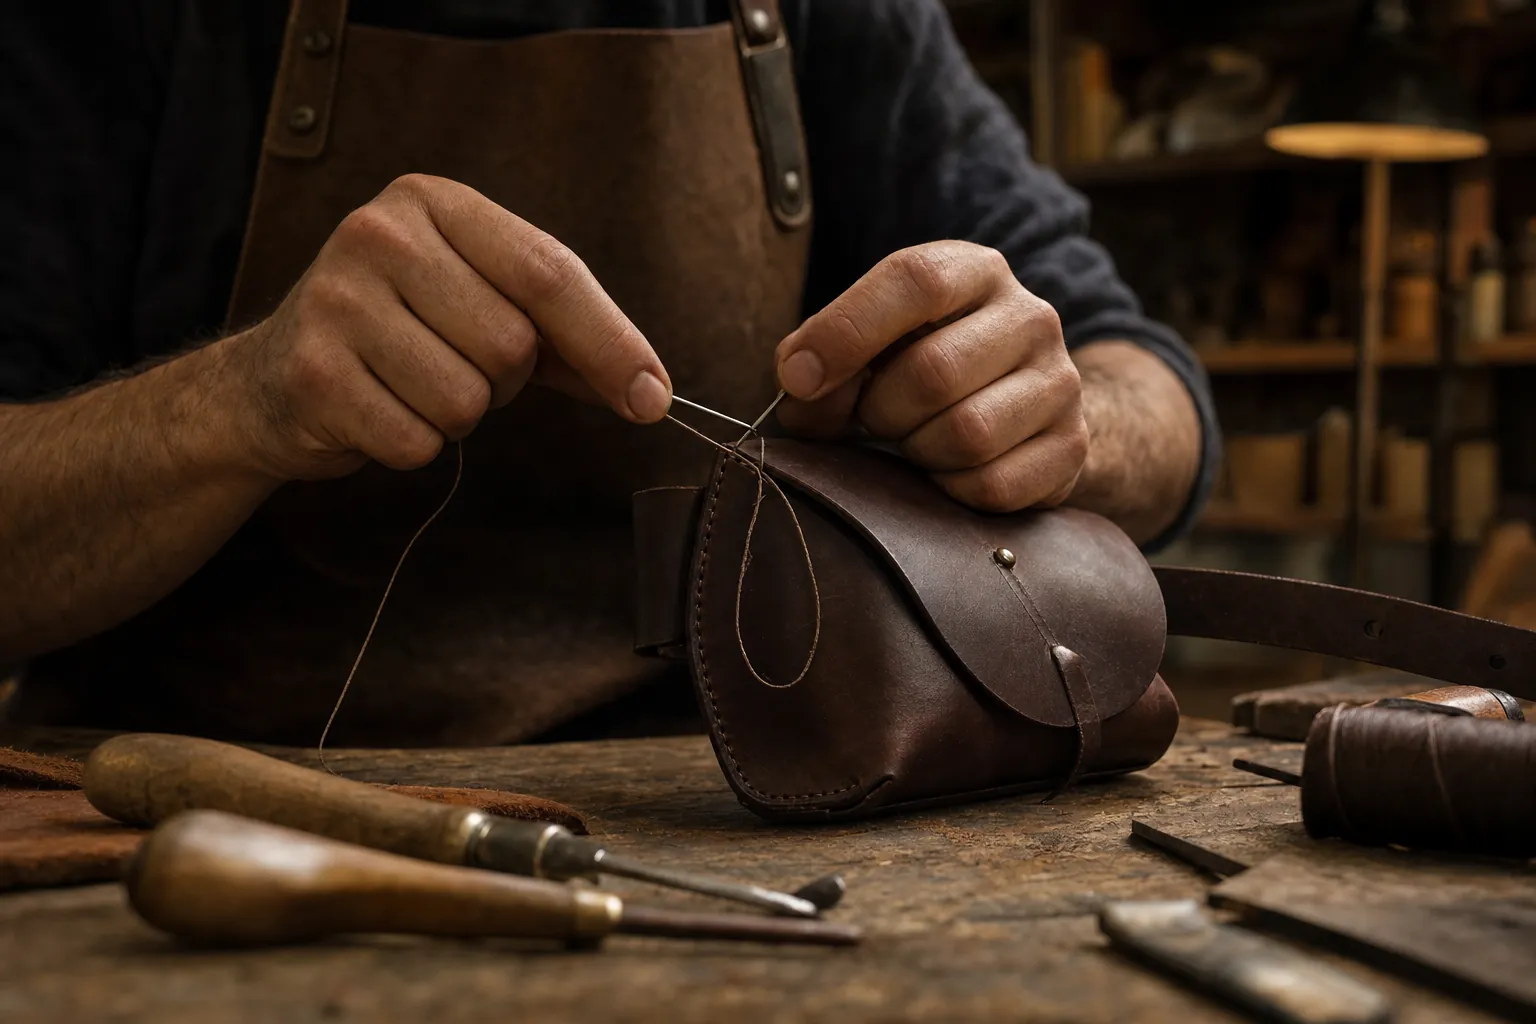
You do not need every tool in a leather shop to make a clean cover. Start with a sharp utility knife or leather knife, a metal ruler, a cutting mat, a scratch awl or silver pen, a small mallet if you plan to set hardware, and a burnishing tool or smooth piece of canvas for the edges. A wing divider, edge beveler and stitching chisels are worthwhile additions, but they are not a requirement for a simple wrap.
Sharpness matters more than brute force. Make several light passes with the knife rather than trying to force one deep cut. Keep your free hand behind the blade path, use a ruler that will not slide, and work on a stable surface. Leatherworking looks quiet until a dull blade suddenly jumps the line. Slow, deliberate cuts are safer and leave a much cleaner edge to finish later.
Make a paper pattern before cutting leather
Paper is cheap, leather is not. Wrap a sheet of cardstock around the closed notebook and mark where the front and back covers naturally fall. For a simple wrap, add room for the spine plus a little ease so the notebook can open without straining the leather. For a pocket cover, extend the pattern at both ends to form the flaps that will hold the notebook covers in place.
Tape the paper pattern together and use it like the finished cover for five minutes. Open the notebook fully. Turn a few pages. Check that the flap does not cover a title, catch the corners or sit directly on a pen loop. This small rehearsal reveals most fitting mistakes before they become expensive. When the paper version feels natural, write down every final dimension and transfer it carefully to the flesh side of the leather.
Cut and square the main panel
Lay the pattern on the less-visible flesh side and trace it lightly. Use the straightest factory edge when you can, then cut the remaining sides against a metal ruler. Check the rectangle by measuring corner to corner. If the diagonals match, the panel is square. A cover can survive a little natural variation, but a visibly crooked panel makes every later line, pocket and stitch look less intentional.
Do not rush to round every corner. A modest radius can make a cover comfortable in a bag, but over-rounding removes useful material and can make pocket flaps pull away from a notebook. If you want rounded corners, trace a coin or small round object consistently at each corner before cutting. Keep the offcuts. They are useful for testing dyes, finishes, edge paint and stamps before you touch the actual cover.
Plan pockets, closure and stitching around real use
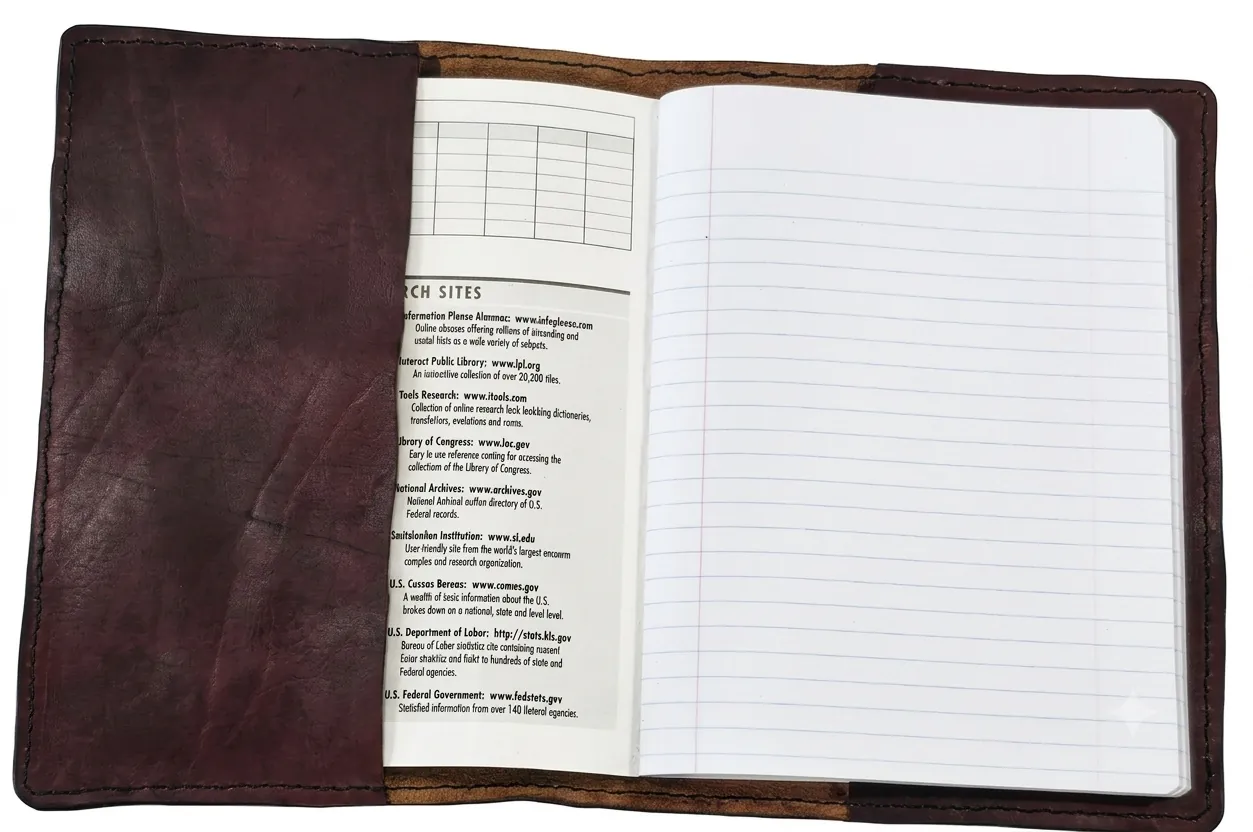
A basic cover can simply wrap the notebook, but interior pockets keep the front and back covers from wandering. Make the pocket flaps deep enough to hold the notebook securely while leaving the first page easy to reach. Test their position with the paper pattern before committing. A narrow pocket may look tidy but can become frustrating when the notebook cover is thick or when you replace it with another brand later.
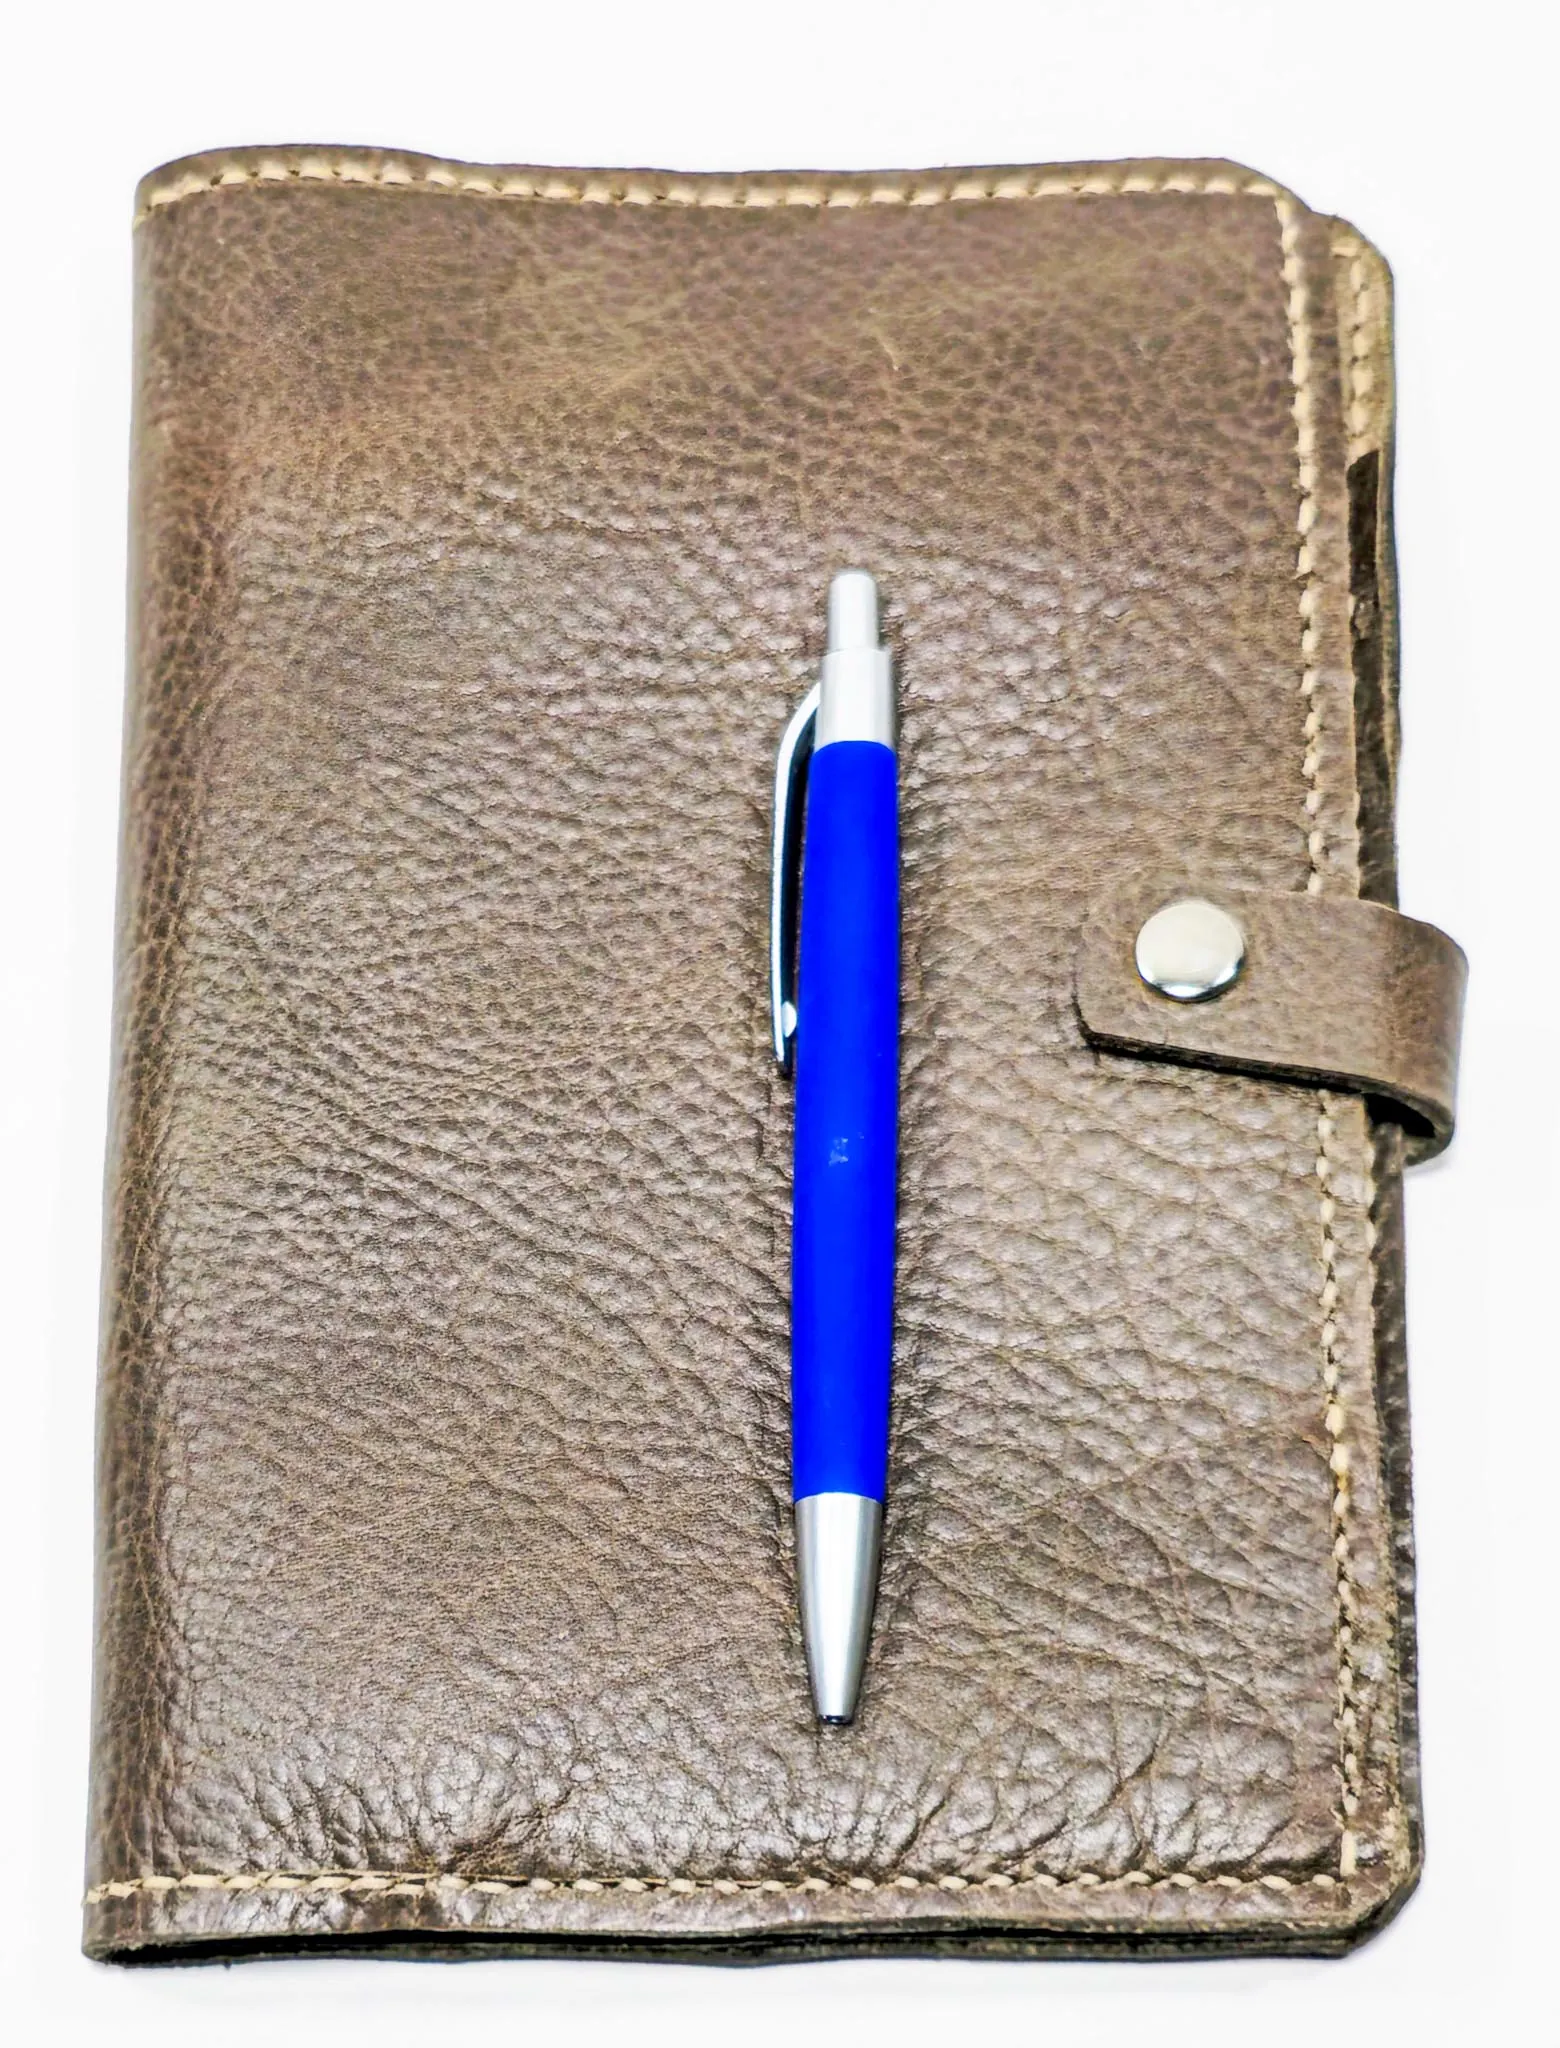
Closures should solve a real problem. An elastic loop can be useful for a cover carried loose in a bag. A snap works when it clears the notebook comfortably and does not press a dent into the pages. A tie strap is forgiving and looks handsome, but it takes longer to open. If the cover will mostly live on a desk, skip the closure entirely. Good design is not every possible feature added at once. It is the few features that make daily use easier.
Prepare the edges before assembly
Edge work is where a simple cover begins to feel finished. Lightly bevel the sharp top edge if your leather is thick enough, then smooth the edge with a little water or gum tragacanth and rub it with a wood slicker or canvas. Work in short sections. The goal is a dense, smooth edge, not a dark gummy line made by adding too much product.
If you plan to stitch pockets, mark the stitch line before gluing or punching. Keep it far enough from the edge that the leather will not tear under normal use. A consistent line is more important than a tiny stitch count. On a first cover, a neat line of hand stitching around two pockets says more than complicated decoration applied before the basics are under control.
Assemble slowly and check fit as you go
Glue is a positioning aid, not a reason to stop checking the work. Dry-fit each pocket with the notebook in place, then mark the final position. If you use contact adhesive, follow the product instructions, apply a thin even coat and let it become tacky before joining. Press from the center outward so trapped air does not make a bump. Once it grabs, leather rarely offers a graceful second chance.
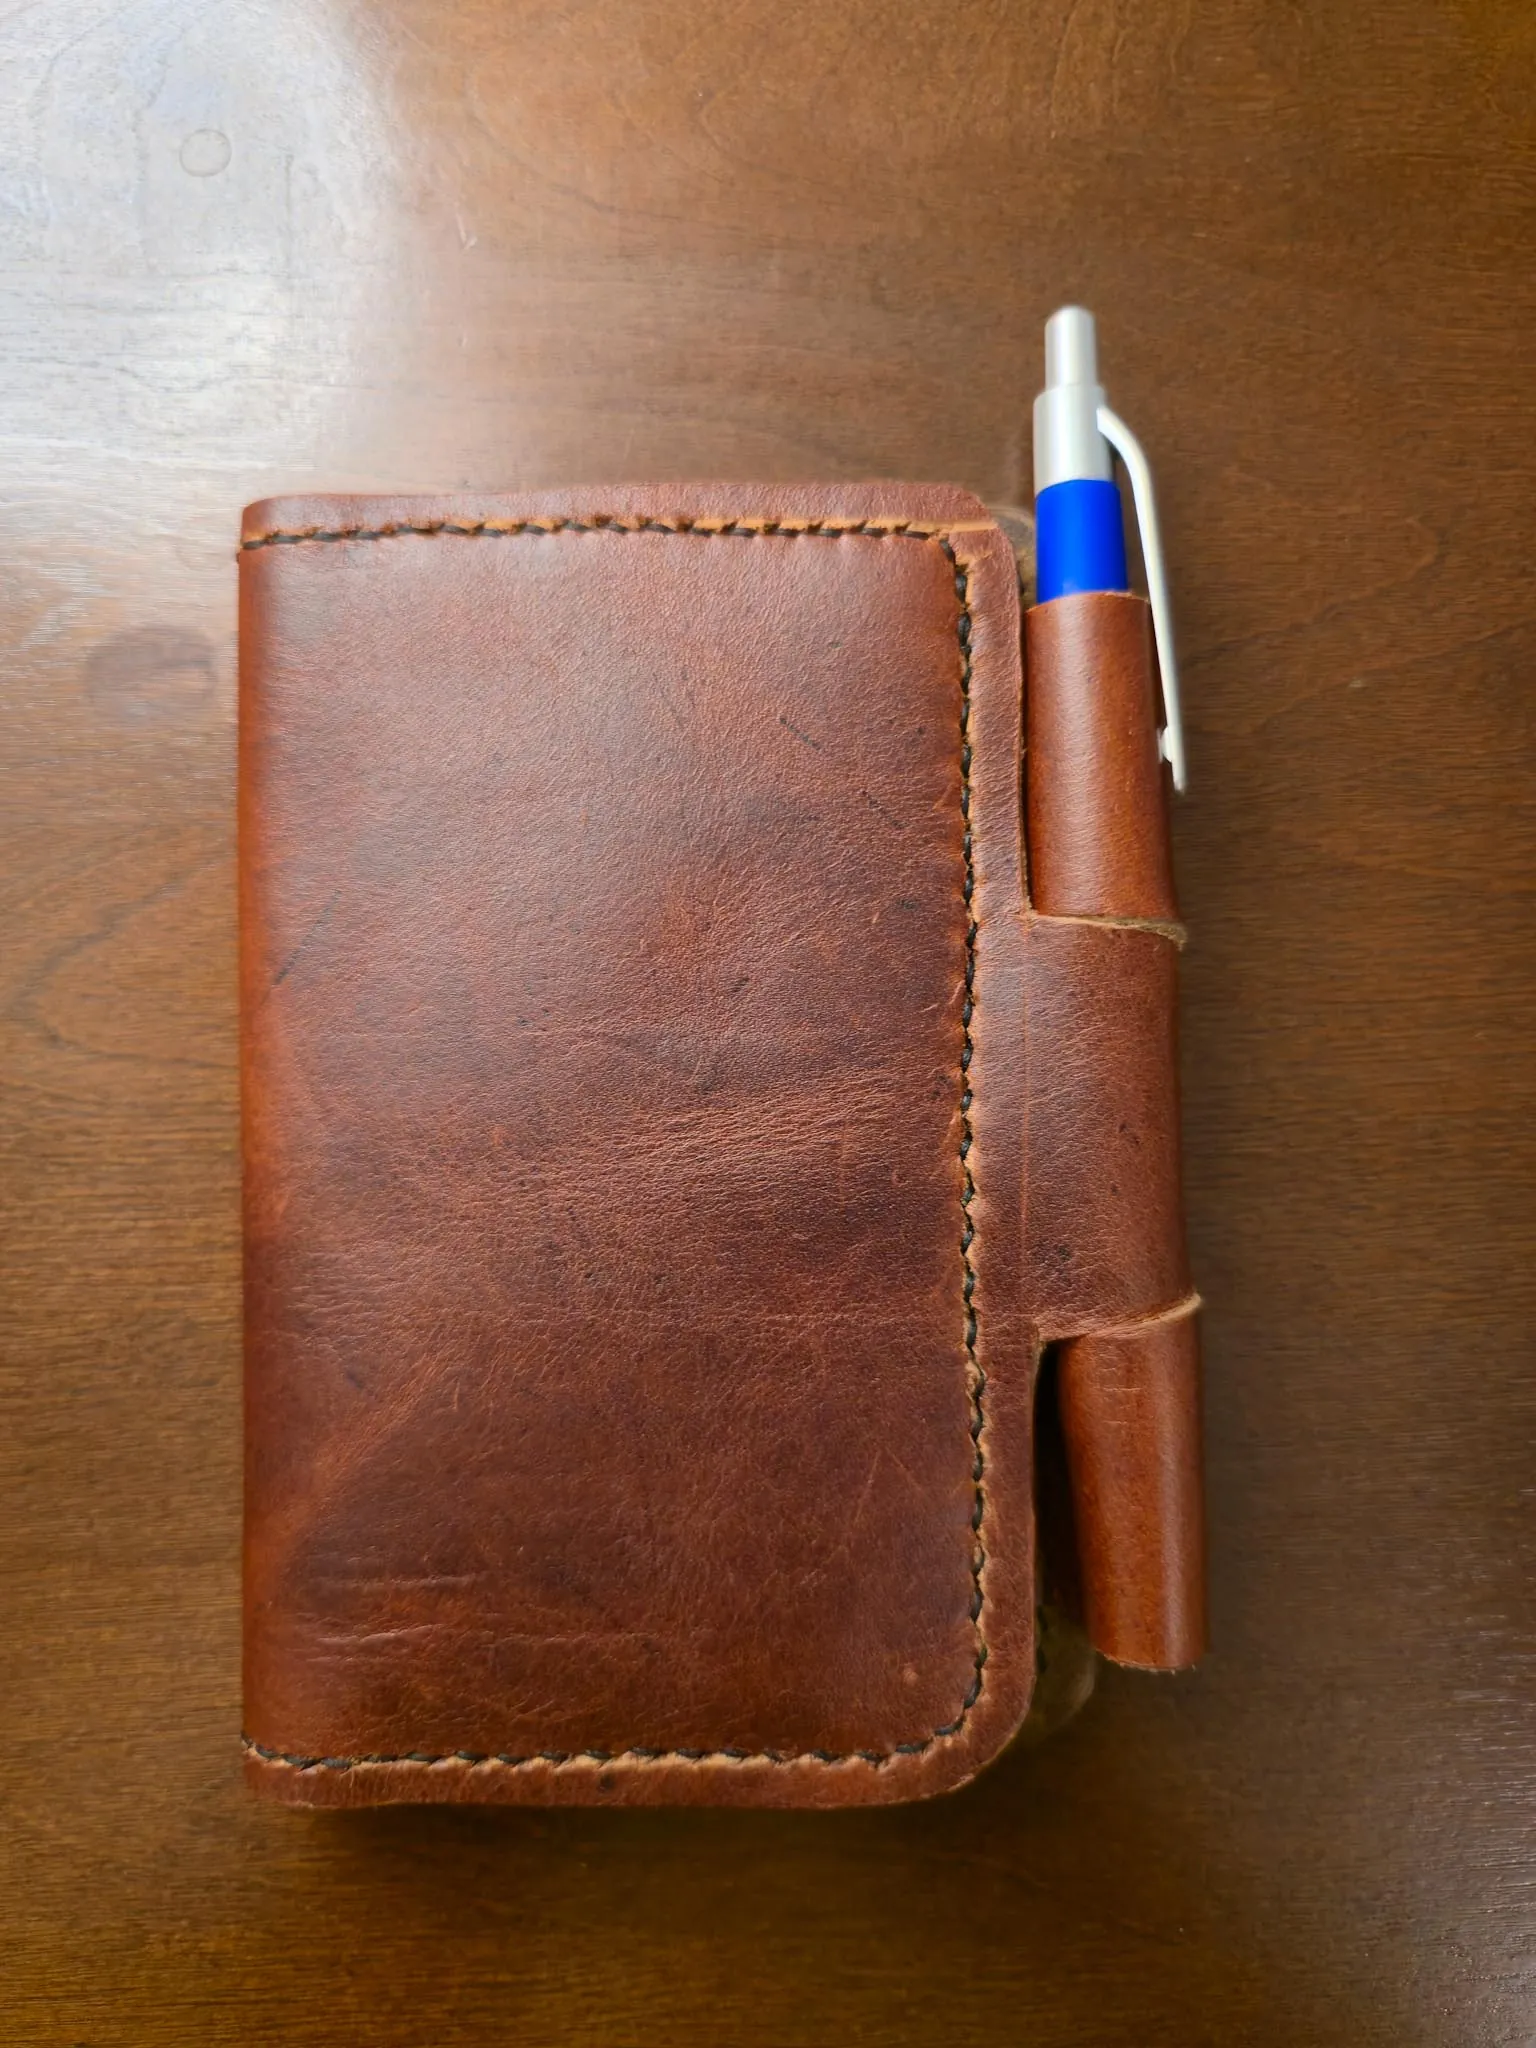
After stitching or fastening the pockets, insert the notebook and work the cover normally. Open it flat. Close it with a few sheets of paper tucked inside. Carry it under your arm or slide it into the bag you use most. This is the moment to notice a flap that catches, a closure that lands badly or a pocket that is too shallow. A handmade object earns trust by being used, not by looking untouched on the bench.
Finish lightly and let the leather become yours
A new cover rarely needs a heavy coat of anything. Brush away dust, apply a finish appropriate to the leather if you have tested it on an offcut, and let the piece dry fully before loading the notebook. Too much oil, conditioner or wax can darken leather, soften it more than intended and make the surface feel sticky. The leather-conditioning guide is a useful reference once the leather later feels genuinely dry.
The first few weeks are part of the finishing process. The spine will settle, the fold will learn where it belongs and the surface will begin to show the small changes that make leather personal. Keep it away from prolonged soaking and direct heat, and do not panic over an honest scuff. The best-looking covers are usually the ones that have been carried, opened and used for something worth remembering.
When a handmade cover is the better route
Making your own cover is rewarding when you enjoy the process and want a simple design built around one notebook. It is also an excellent way to learn what you value: a softer fold, a deeper pocket, a pen loop, a particular color or room for a thicker insert. Those choices are the real point of a first project, not a flawless replica of someone else's work.
When you want a more complex fit, detailed hand stitching or a cover made around an unusual notebook, a maker can save a lot of trial and error. The Kilted Leatherworker builds custom notebook covers around real dimensions and real carry habits. For a standard A5 notebook, The Chronicler’s Cover is a ready-made starting point. Either way, begin with the notebook you love, then give it leather that makes you want to pick it up.
Frequently asked questions
What leather is best for a first journal cover?
A medium-weight vegetable-tanned leather is a sensible first choice because it cuts cleanly, holds its shape and finishes well. Softer leather can work, but it may stretch more and is less forgiving when you are learning to measure and stitch.
How much extra room should a leather journal cover have?
It needs enough room for the notebook cover, spine and normal page movement, plus anything you routinely keep inside. Make a paper pattern around the closed notebook first, then open and close it several times before deciding the final allowance.
Can I make a leather cover without stitching?
Yes. A simple wrap cover can use a tie, elastic or a snap, and some designs use carefully placed pockets secured with rivets. Stitching adds strength and a traditional look, but it is not required for a useful first project.
Should I condition a new leather journal cover?
Usually not right away. New leather should be finished lightly and allowed to settle. Condition only when it later looks dry or feels stiff, using a small amount of a product suited to that leather.
Keep reading
More from the journal.
The Best Gifts for Writers, Travelers and Tabletop Gamers
Thoughtful handmade leather gift ideas for people who write, roam, roll dice and keep the good details close.
Read the guide ↗How to Choose the Best Leather Journal Cover for Your Next Adventure
A practical guide to finding a leather journal cover that protects your notes, travels well and earns its patina.
Read the guide ↗